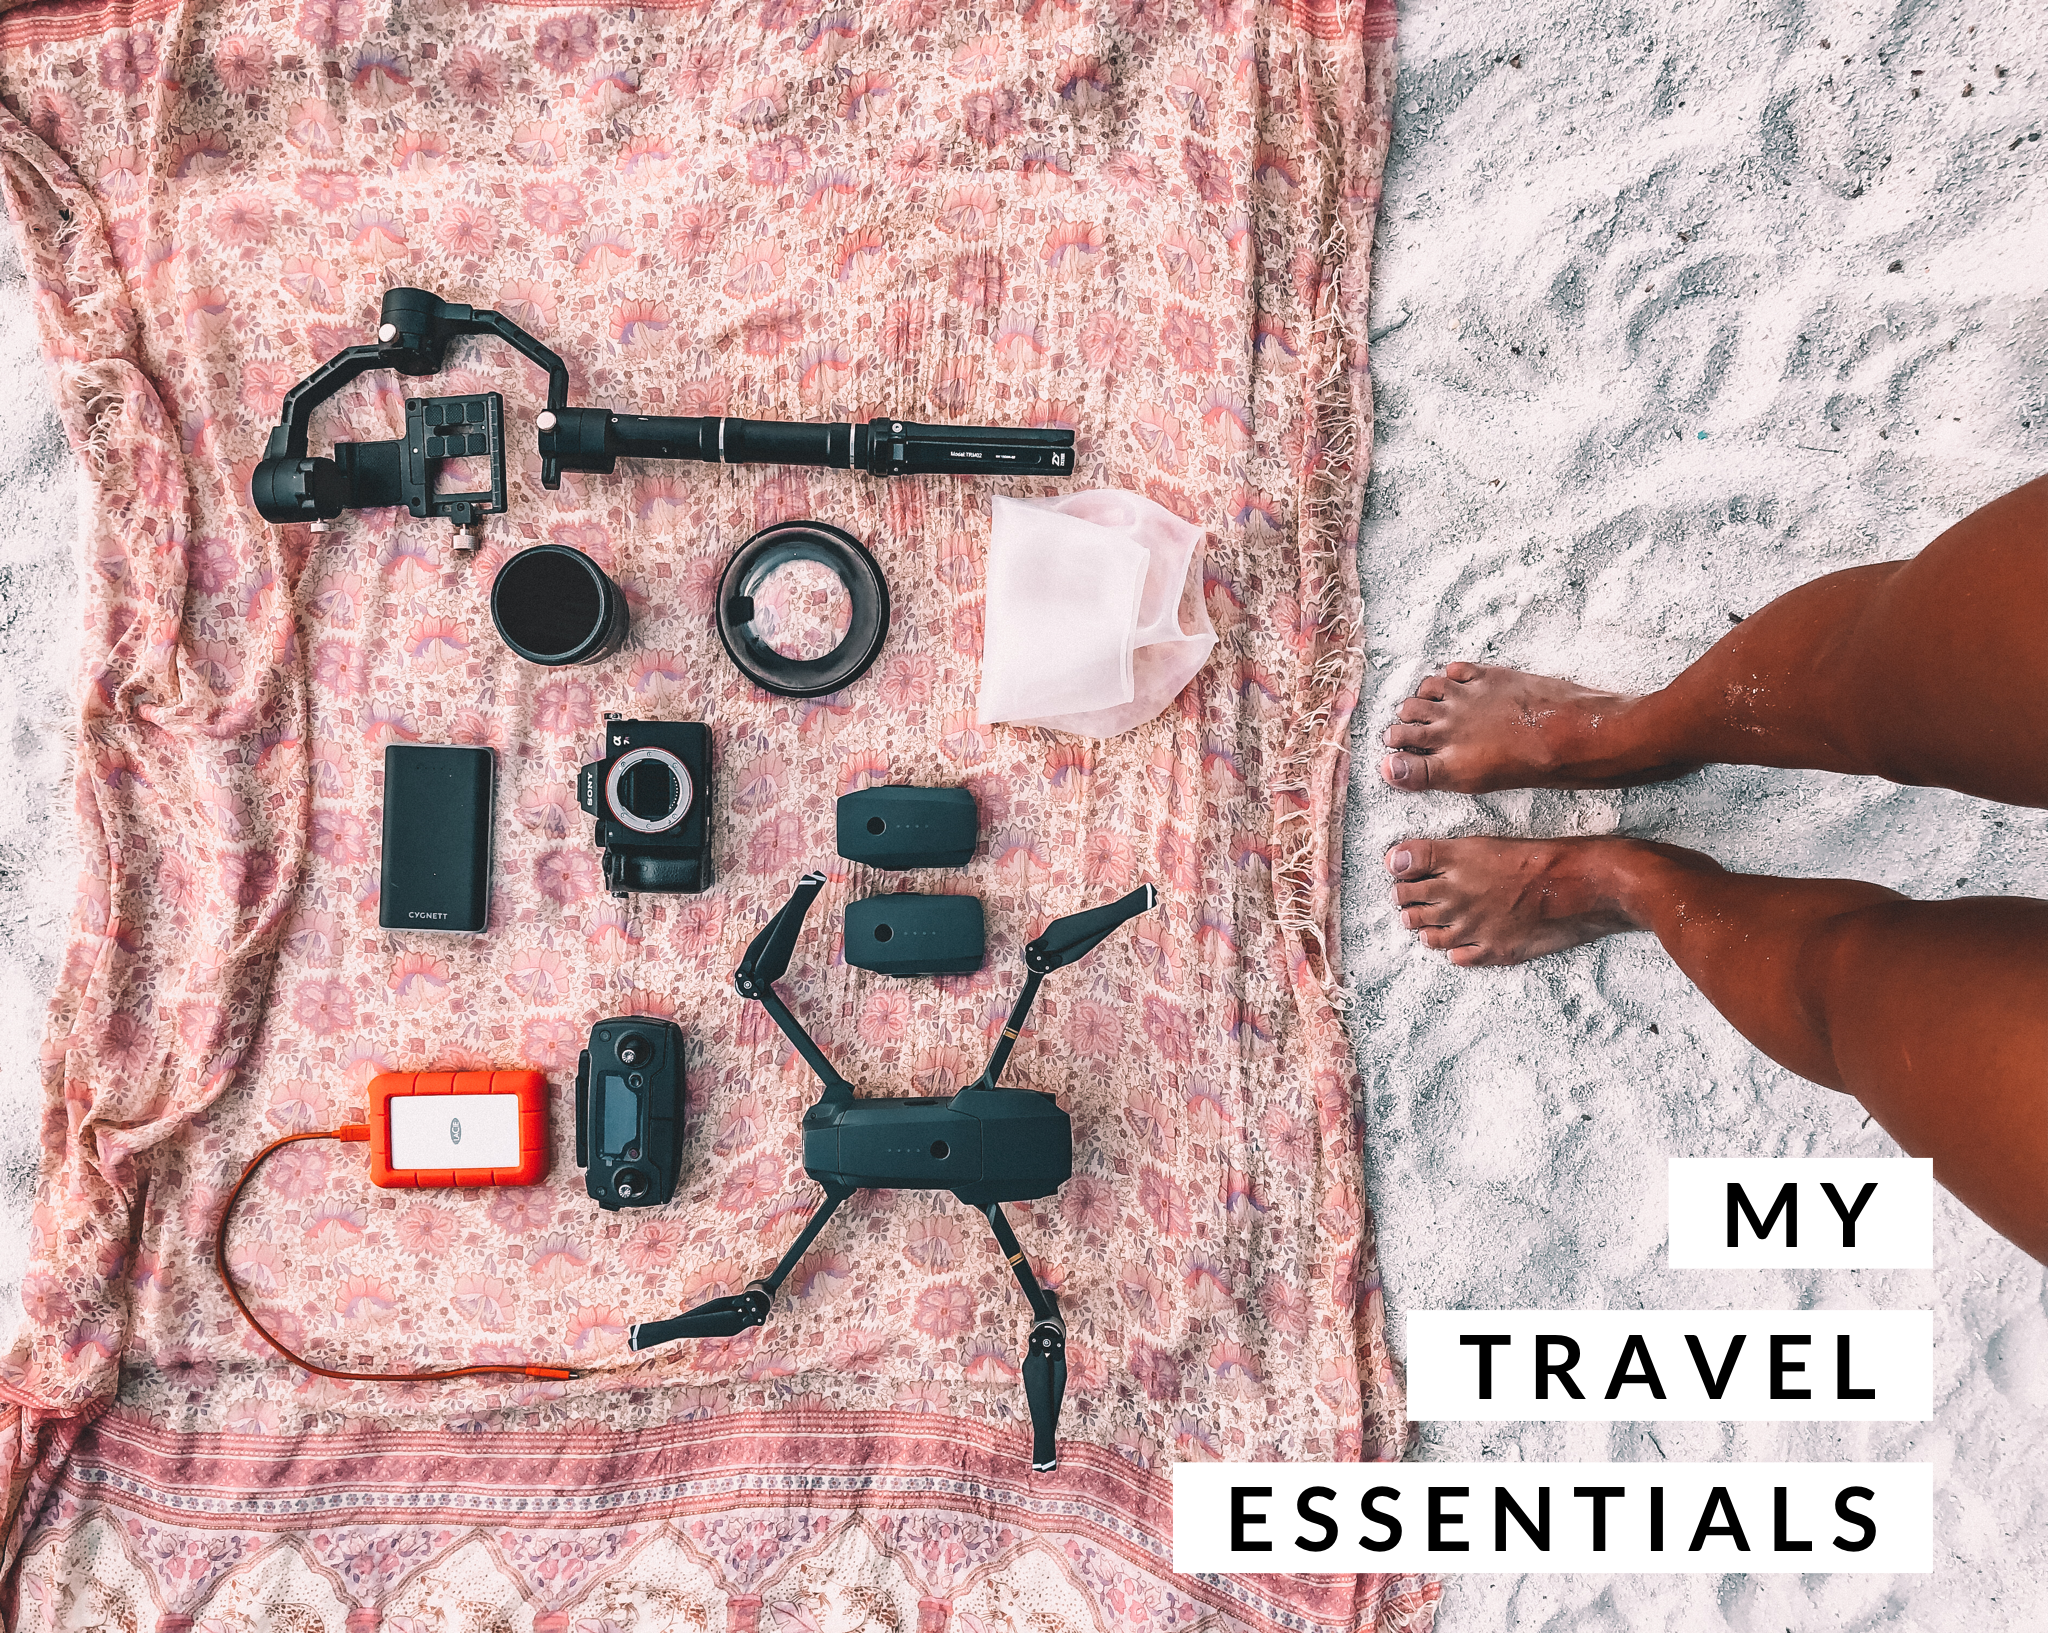
One of the number one questions I get from you guys is WHAT’S IN MY CAMERA BAG & the gear I travel with. As a travel & lifestyle photographer who is on & off planes, buses, trains etc, I like to keep it light.
These are my absolute tried & tested (#notsponsored) pieces of equipment that I take with me EVERYWHERE. I have minimised my gear over the last few years to be more efficient & travel friendly, so I hope this helps!
Camera:
I use the SONY A7Riii
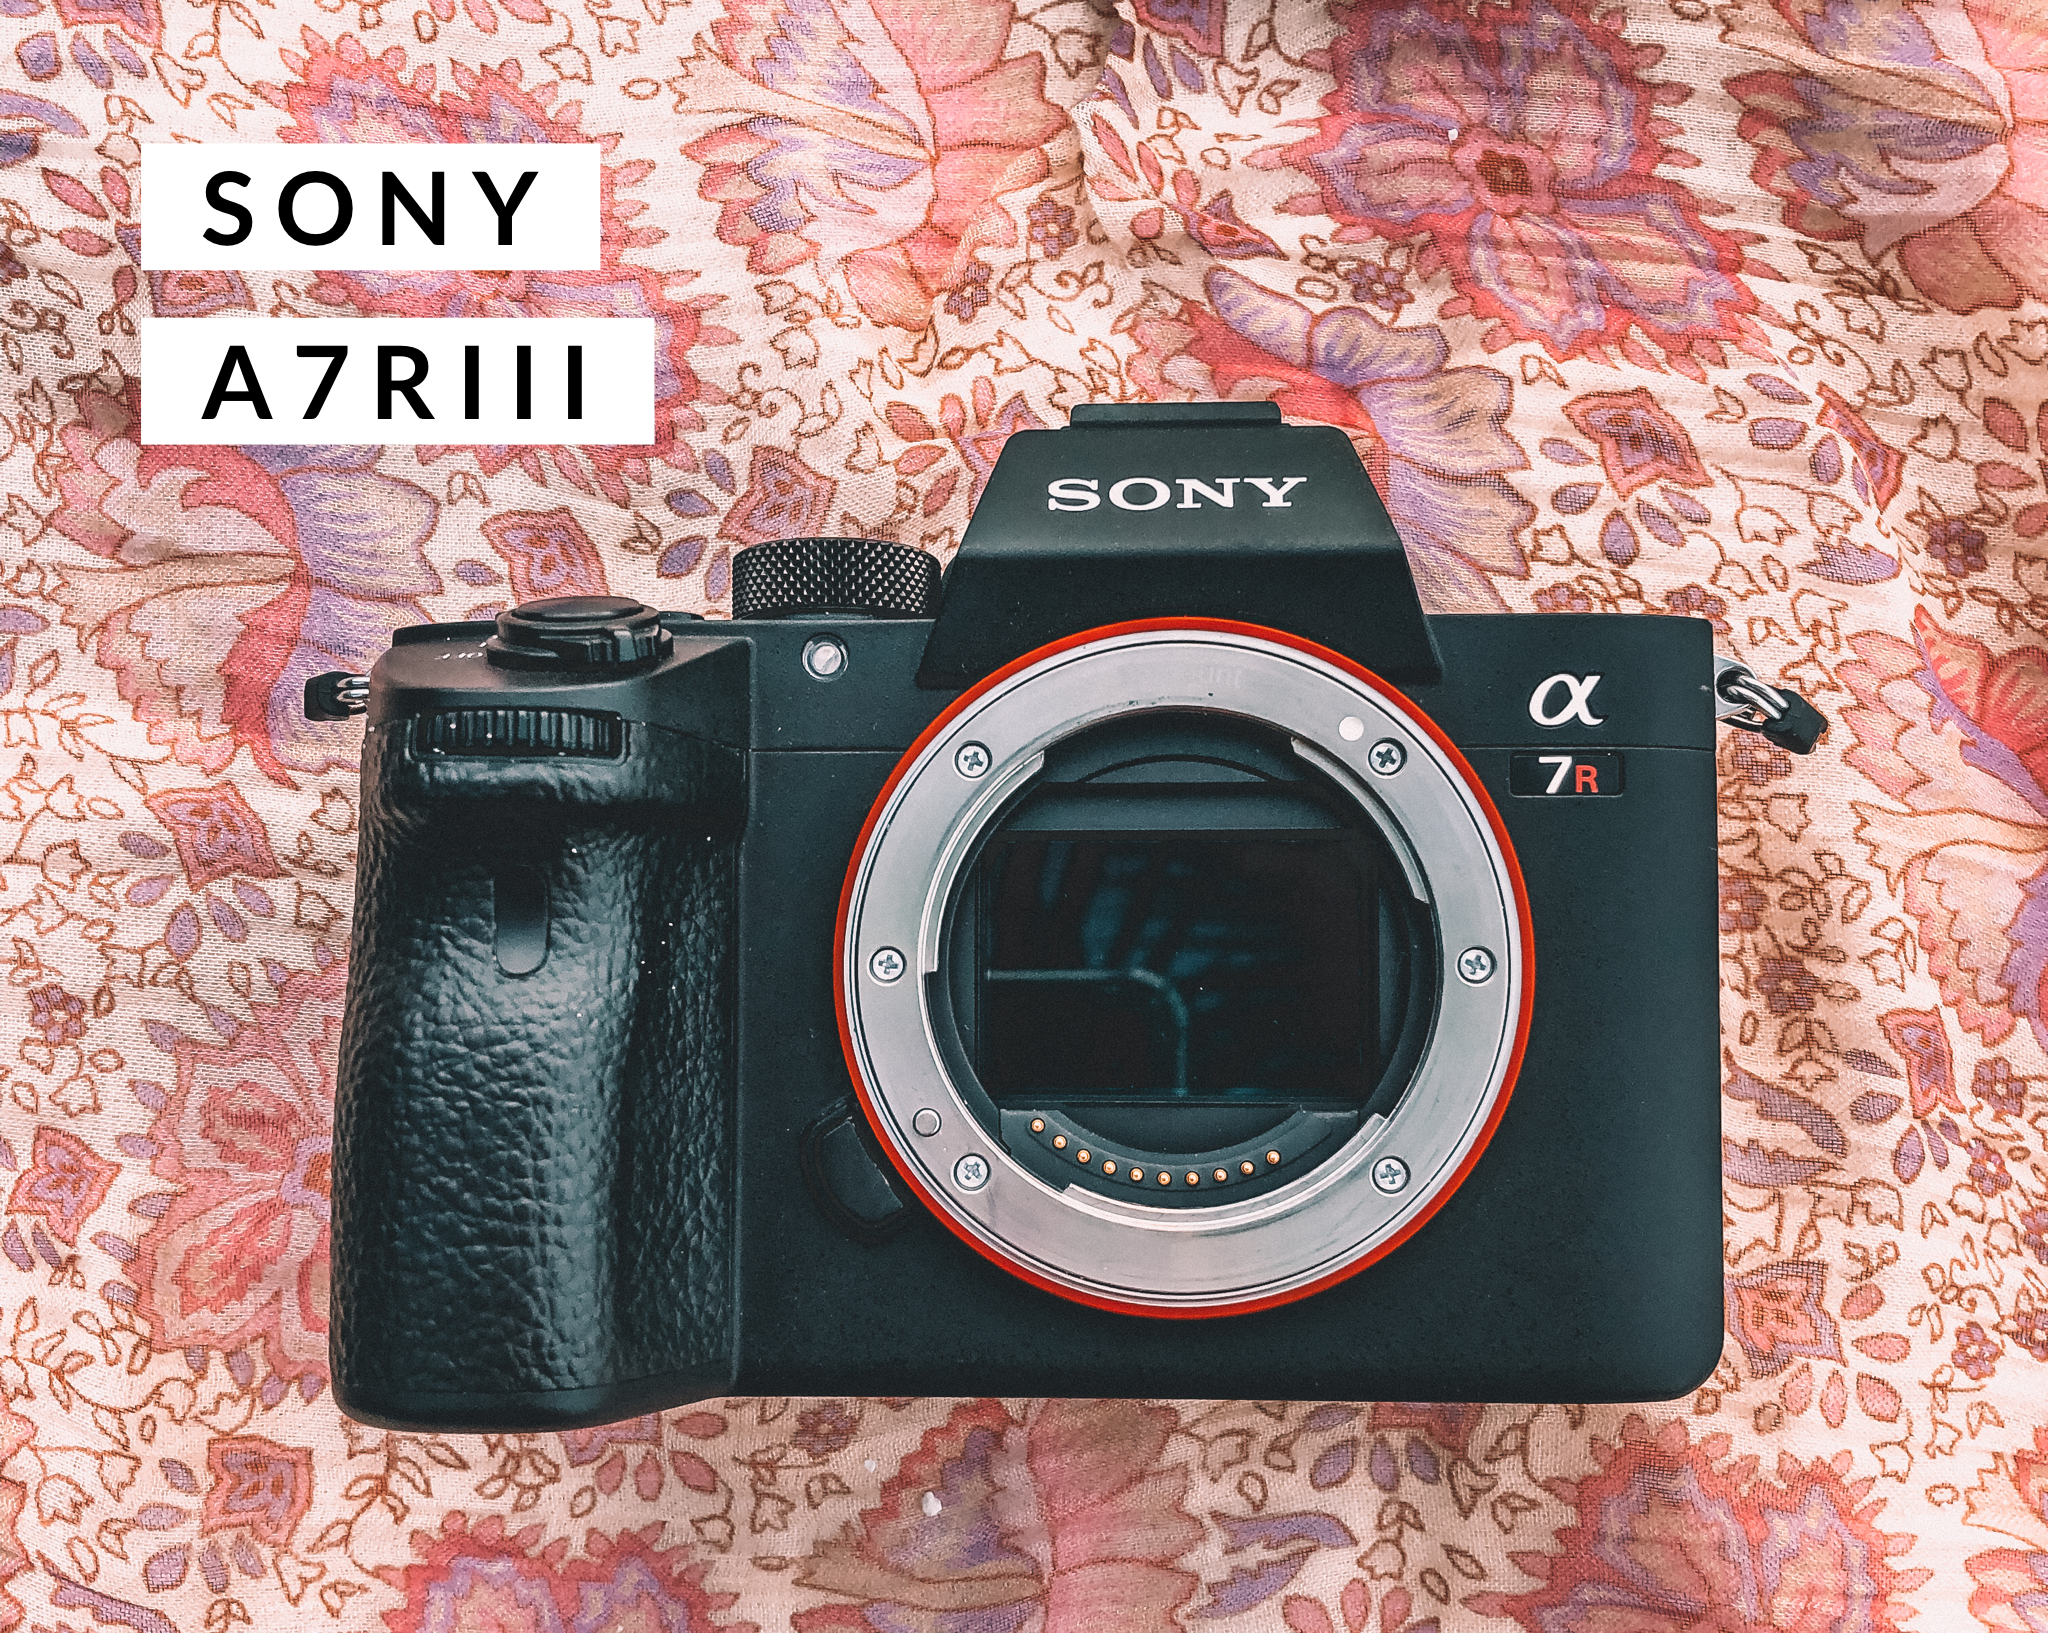
I am in love with this full frame camera – the quality in both photo & video is phenomenal. This was the best option at time of purchase (& I think still is) because unlike many other cameras on the market it could do both still & video REALLY well (I know this sounds crazy but even though iPhone has 4k capability, many of the most well known & uber expensive camera brands DO NOT!!) I REALLY wanted a camera that could capture 4k video & support slow mo to get that beautiful buttery look, which the A7Riii can do perfectly. So glad I made the switch, so so happy!
Lenses:
I use the SIGMA 24mm Art Lens for Sony E Mount
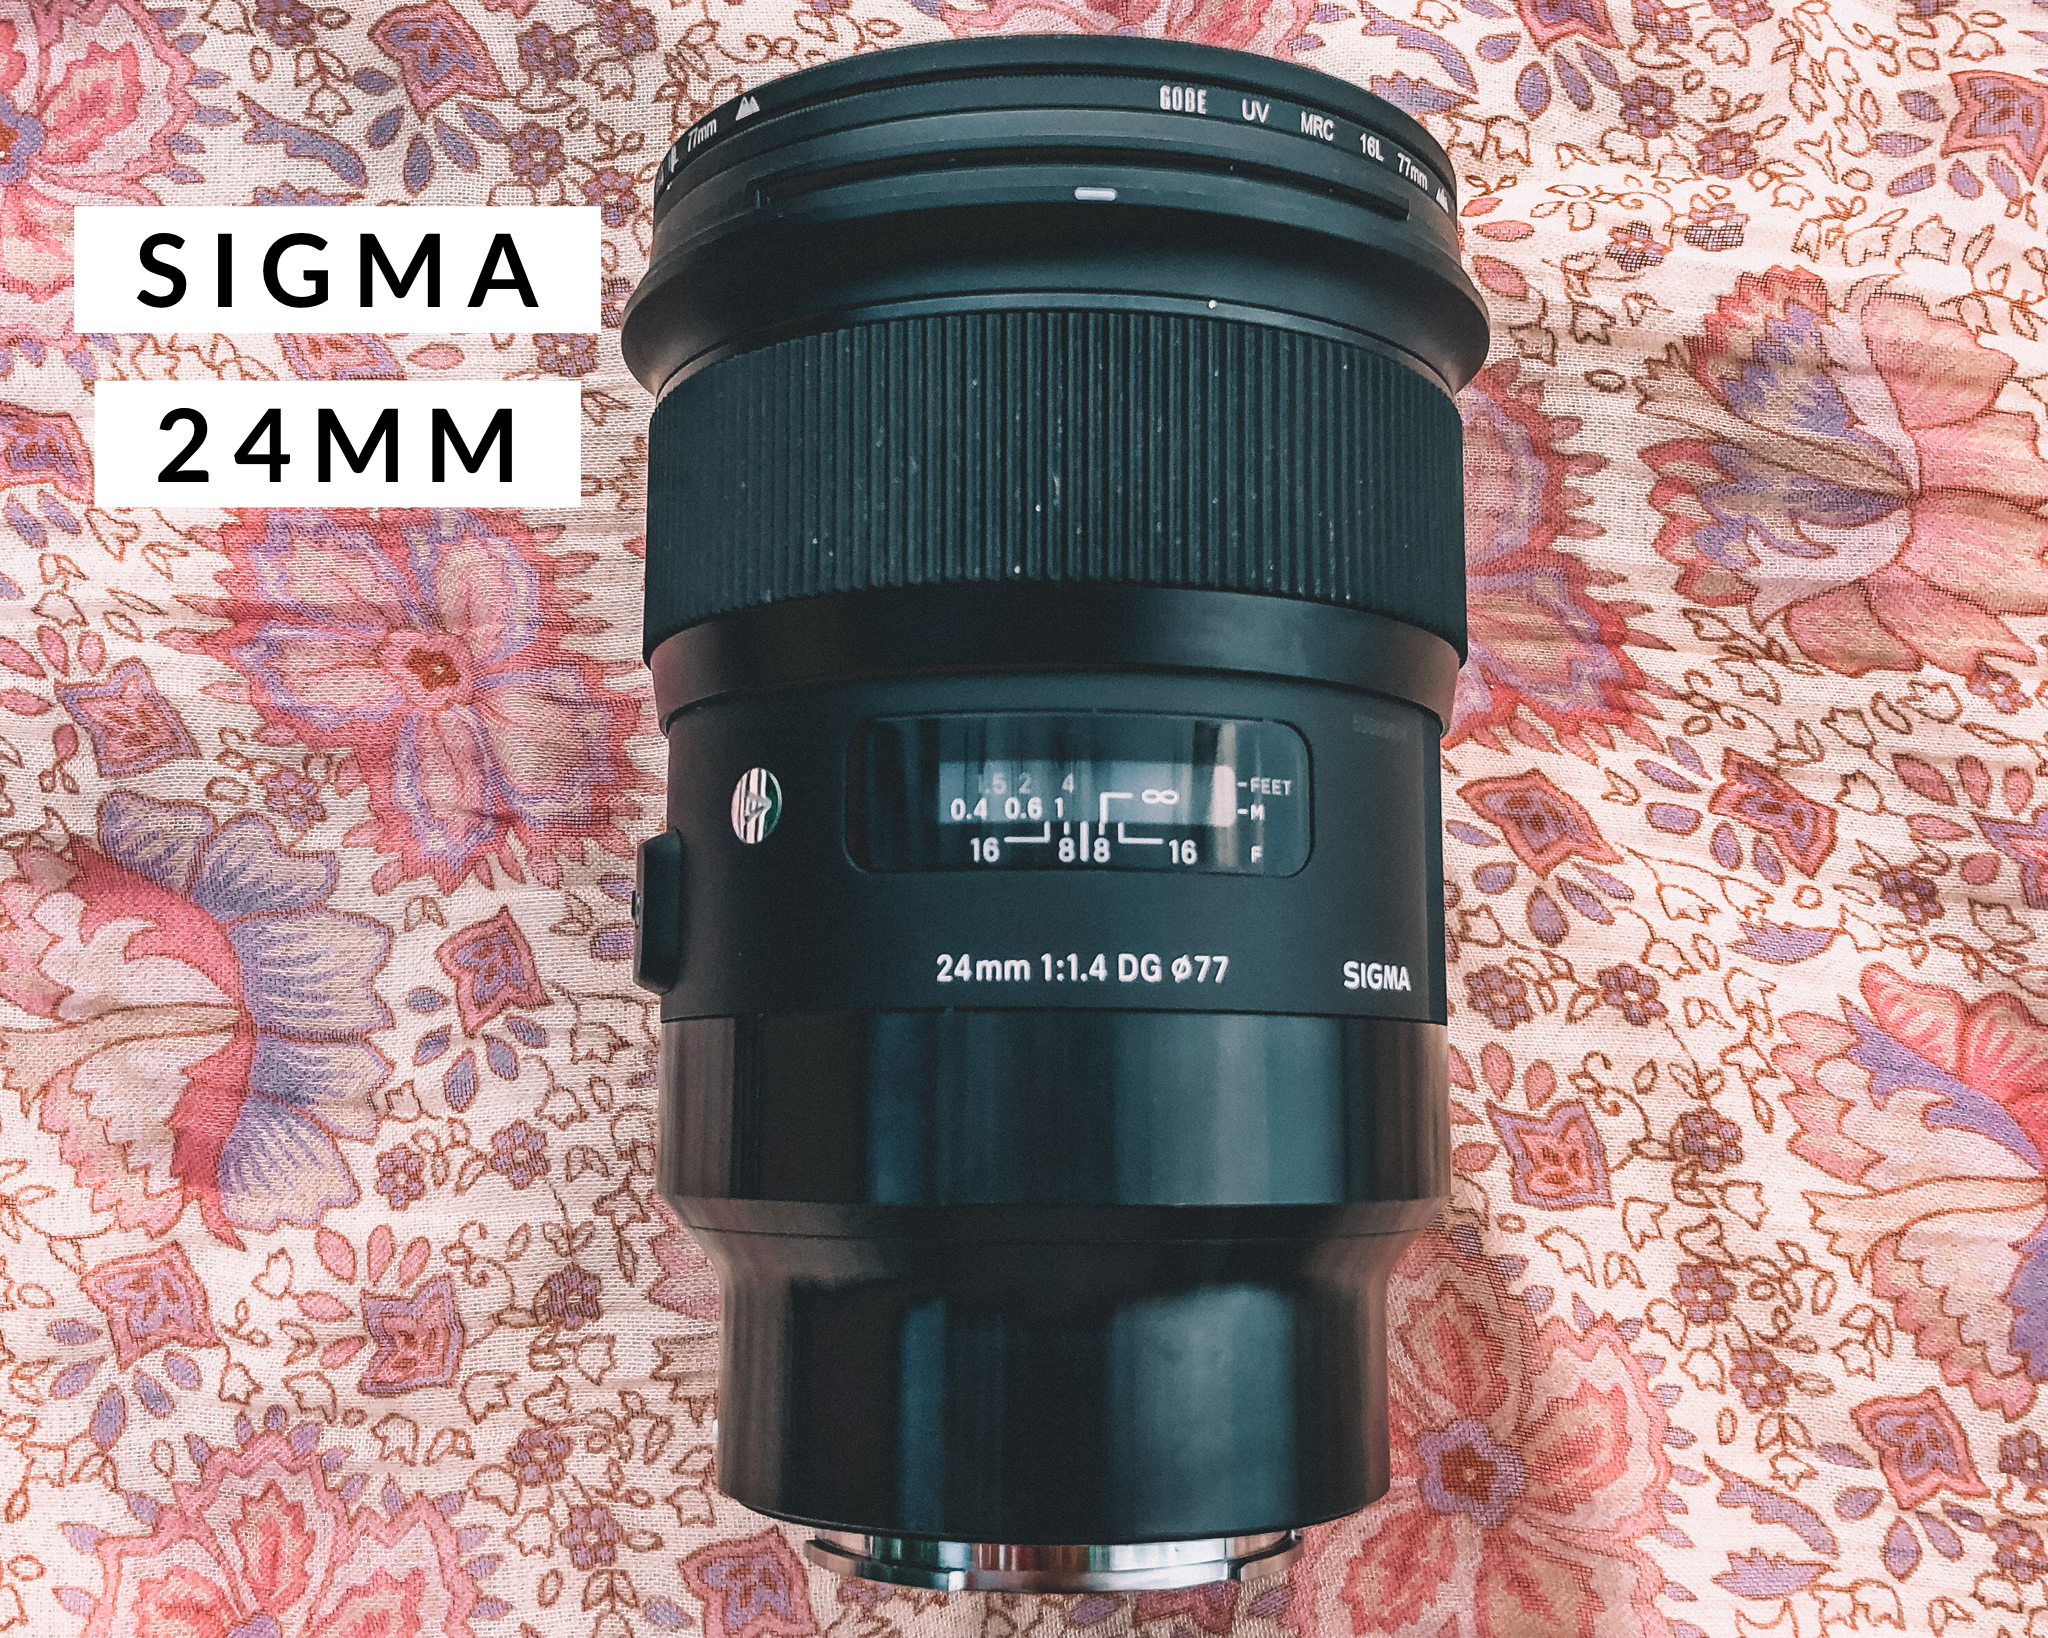
I love the look & natural colours from the Sigma lenses. I find the 24mm to be crisp, clear & better than any lens I have ever used. It’s wide enough to bring in the environment surrounding your subject, while keeping the focus on your subject – which is perfect for travel & lifestyle content creation. Little distortion (unlike some wide lenses) – you will love, I certainly do.
The next lens on my purchase list is the 16-35mm 2.8 Wide lens by SONY. This is a must have for me (in fact I am selling my 35mm to purchase this lens, because I found the 24mm & 35mm to be very similar & especially when travelling you need to be smart about having variable tools for different jobs).
Drone:
I use the DJI Mavic Pro
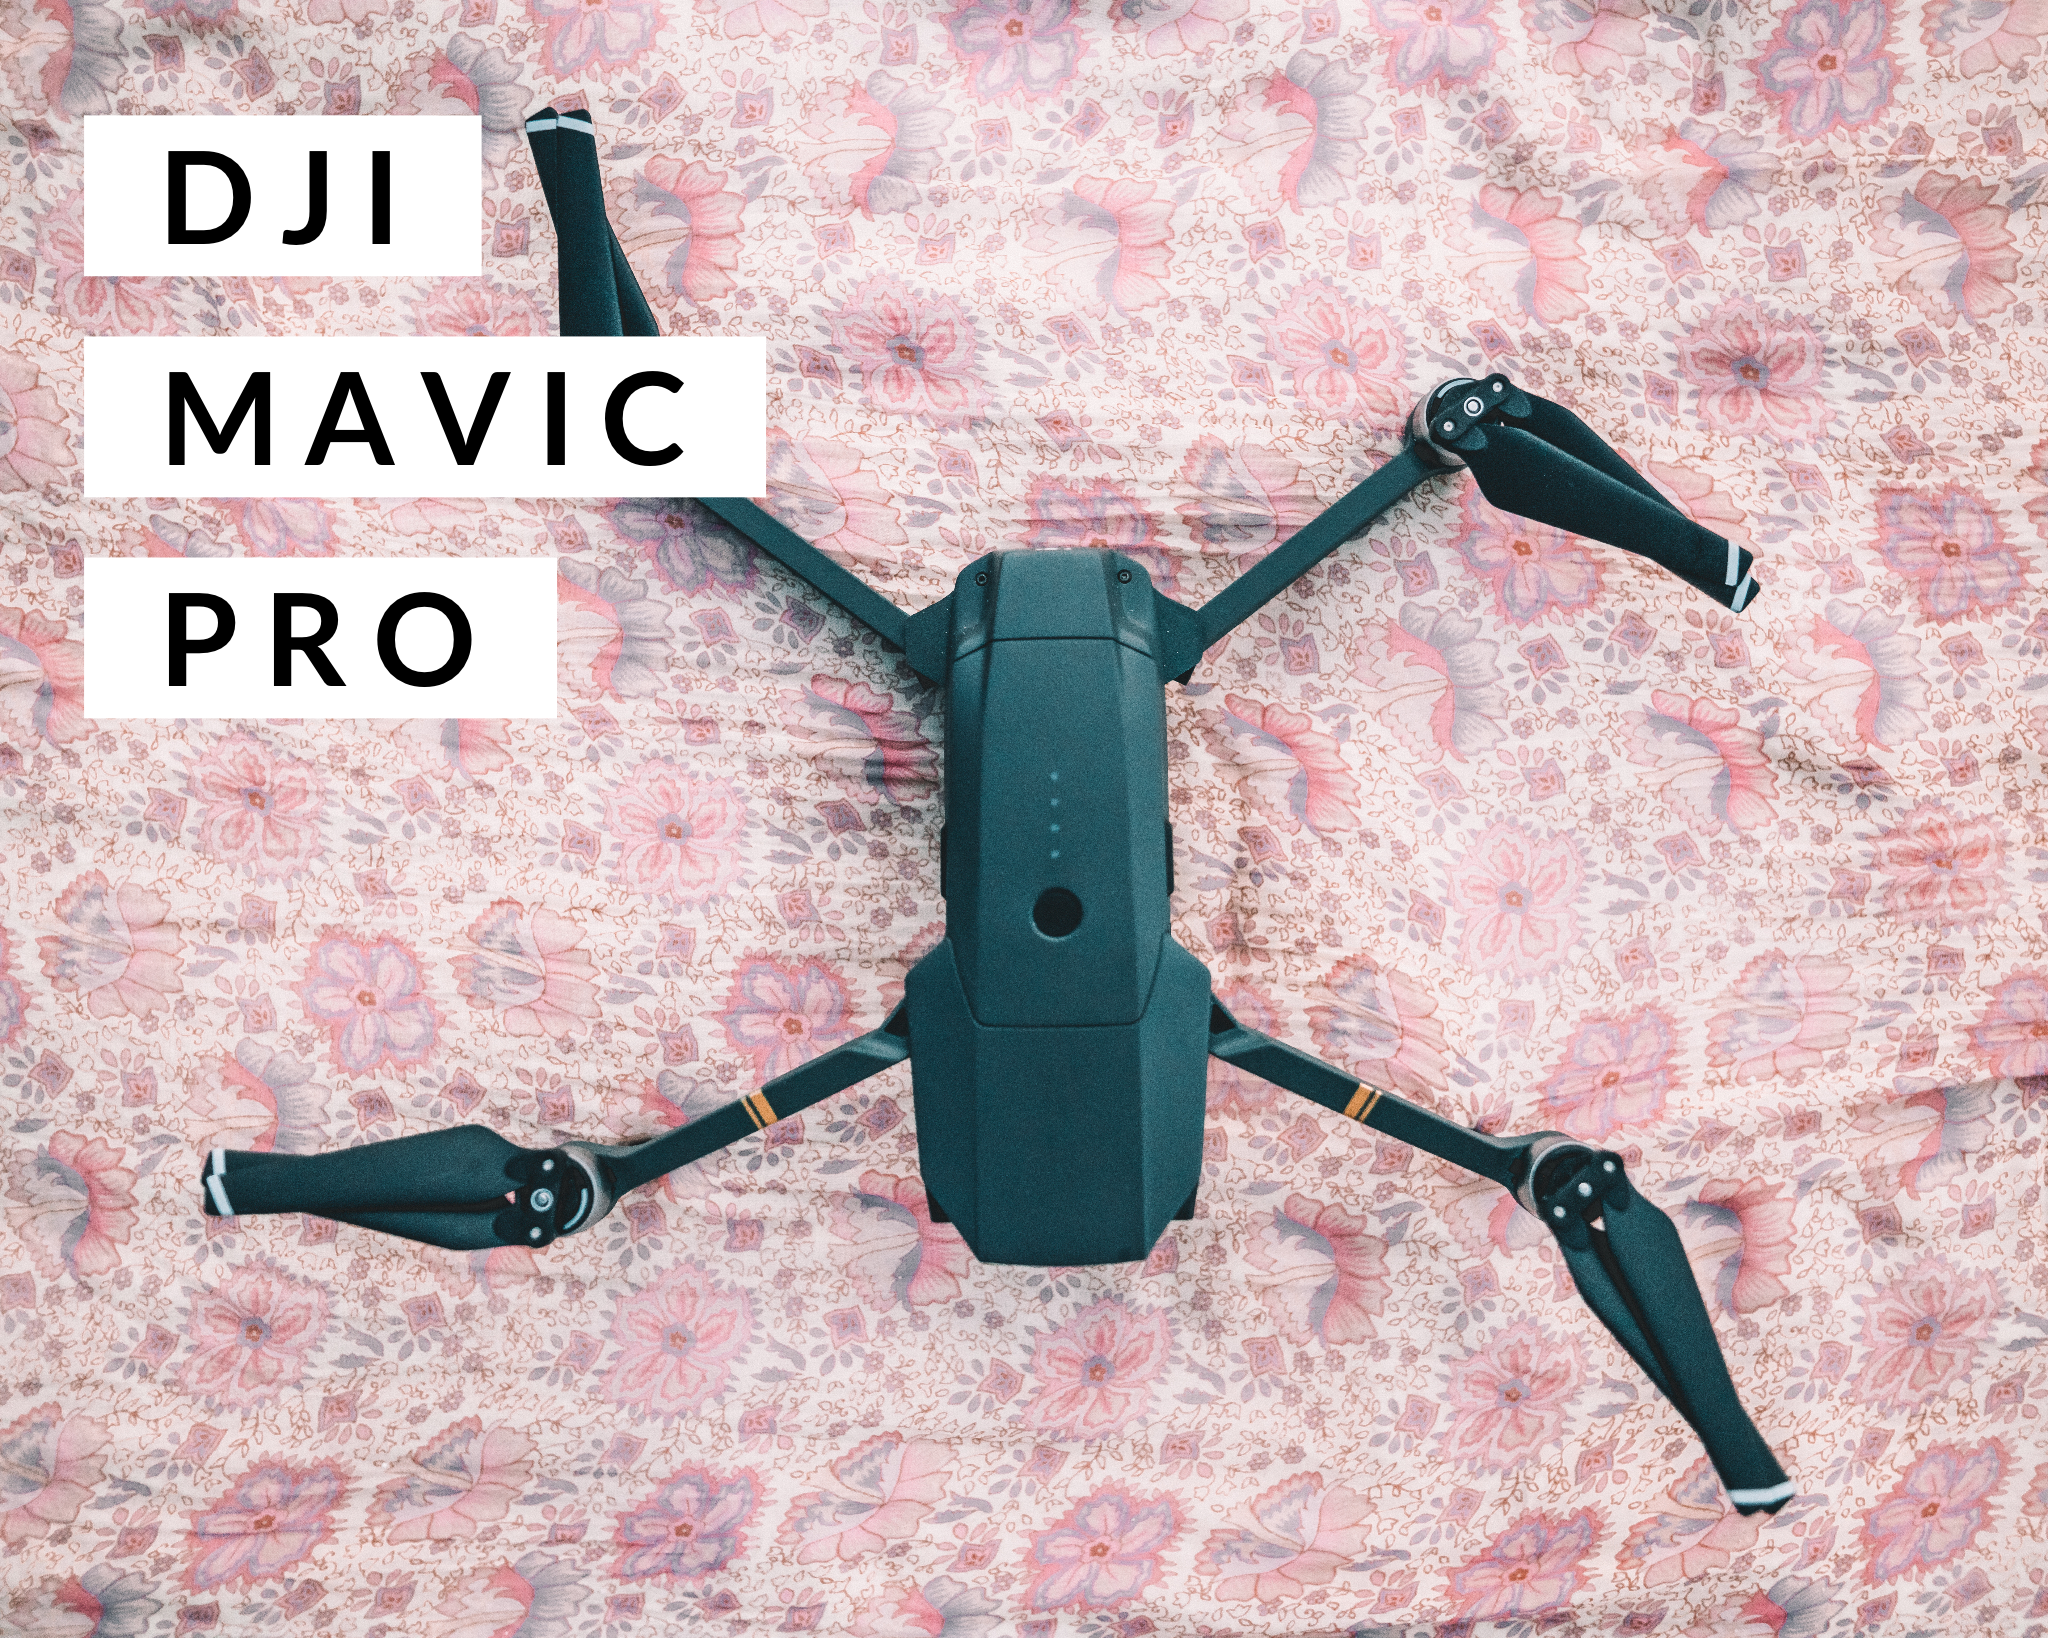
This is my baby. I have always & will always love this little guy. I have put him through some serious tests & he has passed with flying colours every time (pun intended).
This drone may be a slightly older model, but it is INCREDIBLE & I have yet to make the upgrade. It’s great for travel being really light / portable & compact and the best part, it has a 4k camera with portrait mode capability.
If you are keen to upgrade, the Mavic Pro Platinum is now available – it has longer flight time, wider flight range & noise reduction.
Drones are really easy to fly & no doubt after a few flights you will have your confidence up. I went to an open field to learn & got the hang of it really quickly 🙂
Important safety note: PLEASE always be aware of your surroundings when flying a drone – make yourself familiar with your flight path before the flight & make sure you feel super confident before flying the drone high &/or at a long range – I would always recommend flying within a radius where you can physically see your drone. It can be really dangerous especially around areas where light aircraft fly. Be sensitive to peoples privacy too & don’t fly too close. I recommend AirMap for every drone user.
Finally, do ensure you purchase DJI Insurance post-purchase. It’s around $150 & honestly one of the best things I’ve ever done, since learning can be challenging & the insurance will cover you for 2 x replacements (as long as when you crash you are flying within the parameters as set out by DJI ie. suitable weather conditions & as long as you can send the body back in – sadly if you loose to the ocean & cannot retrieve the body, your insurance will be void).
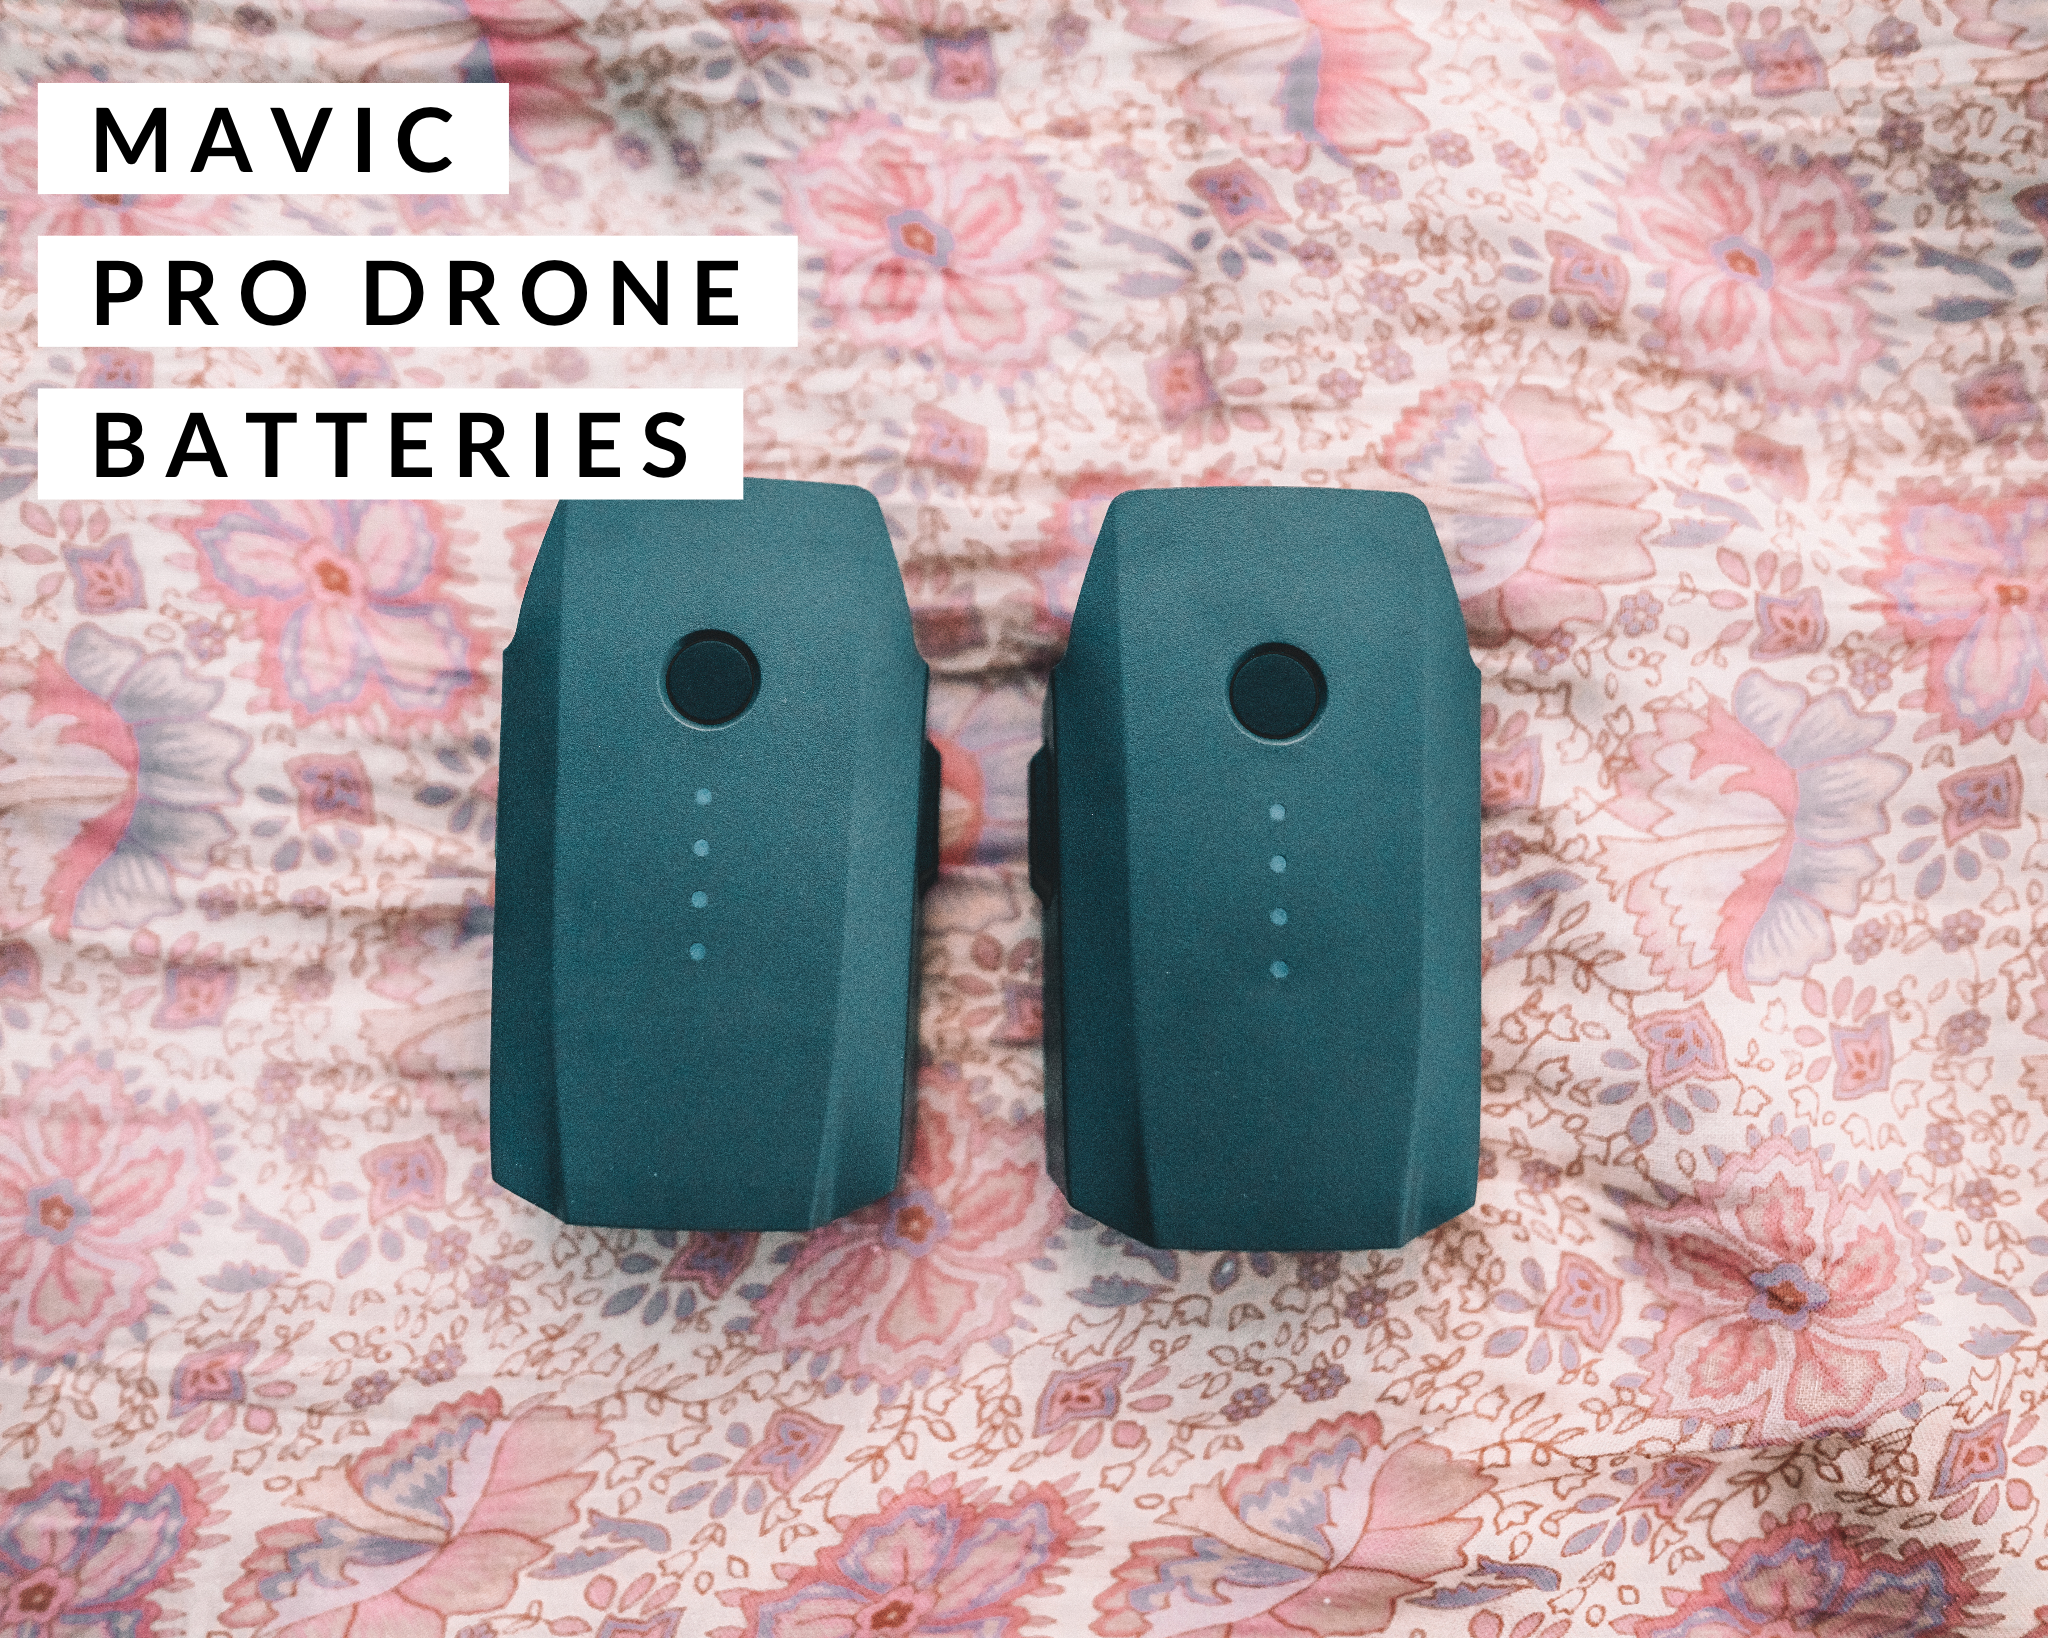
+ I always travel with extra batteries (as they do each only have a flight time of 28 mins, in optimal conditions)
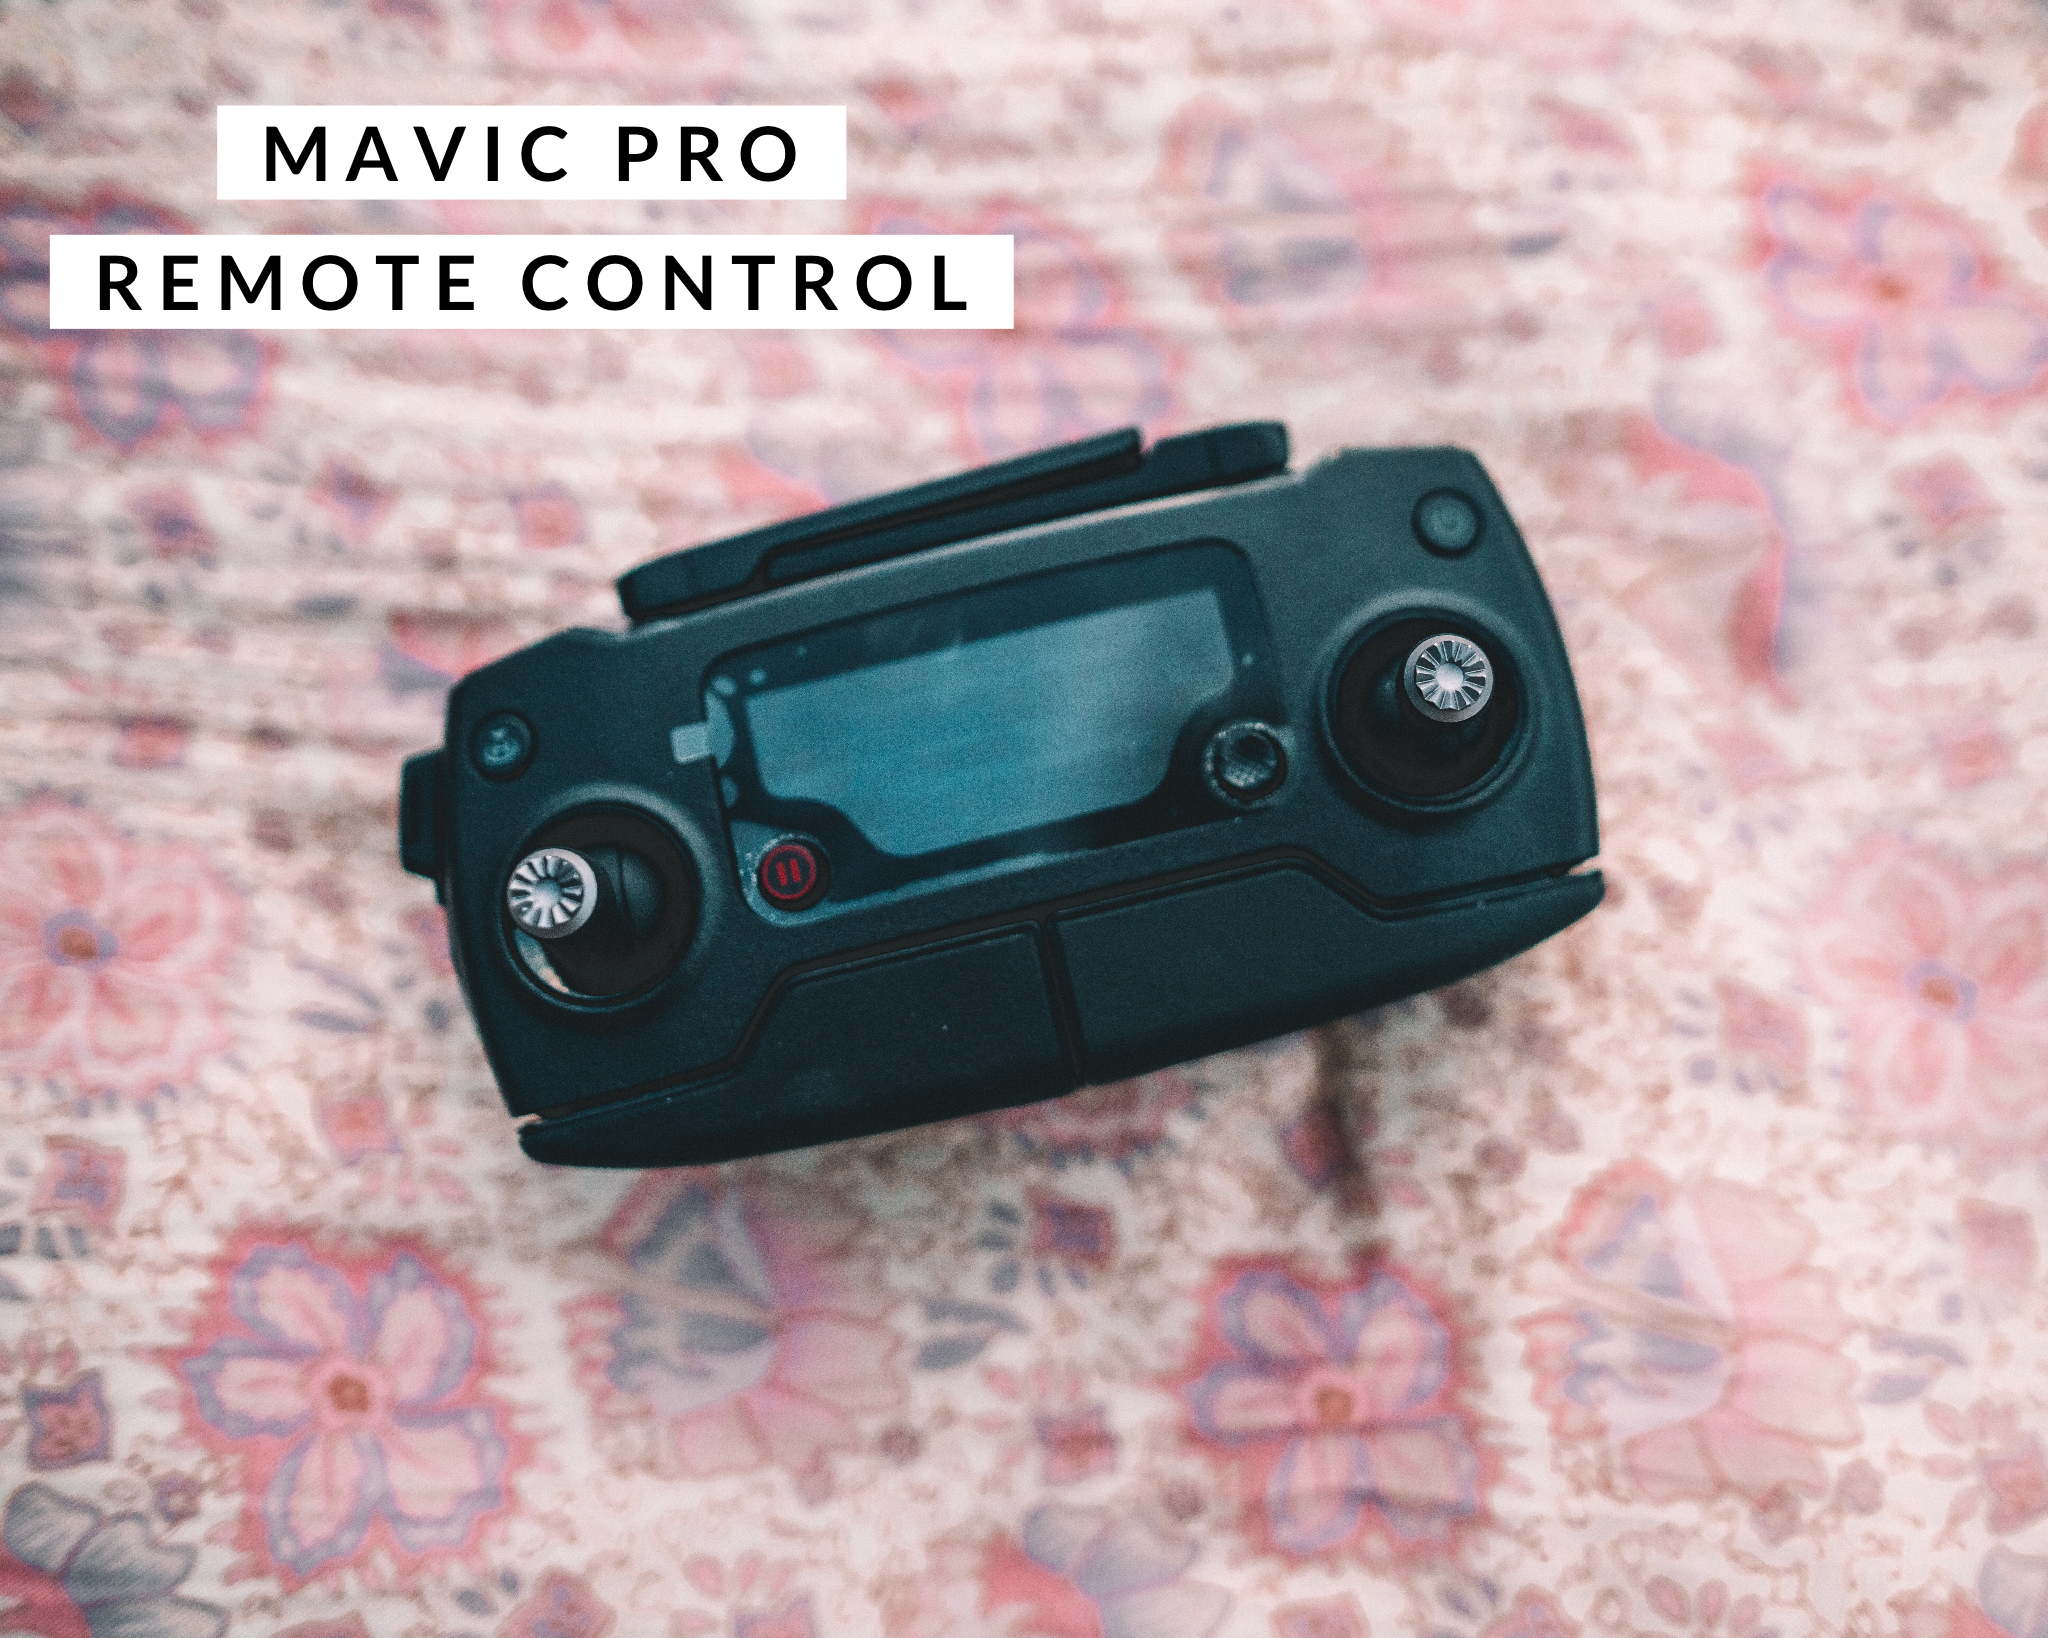
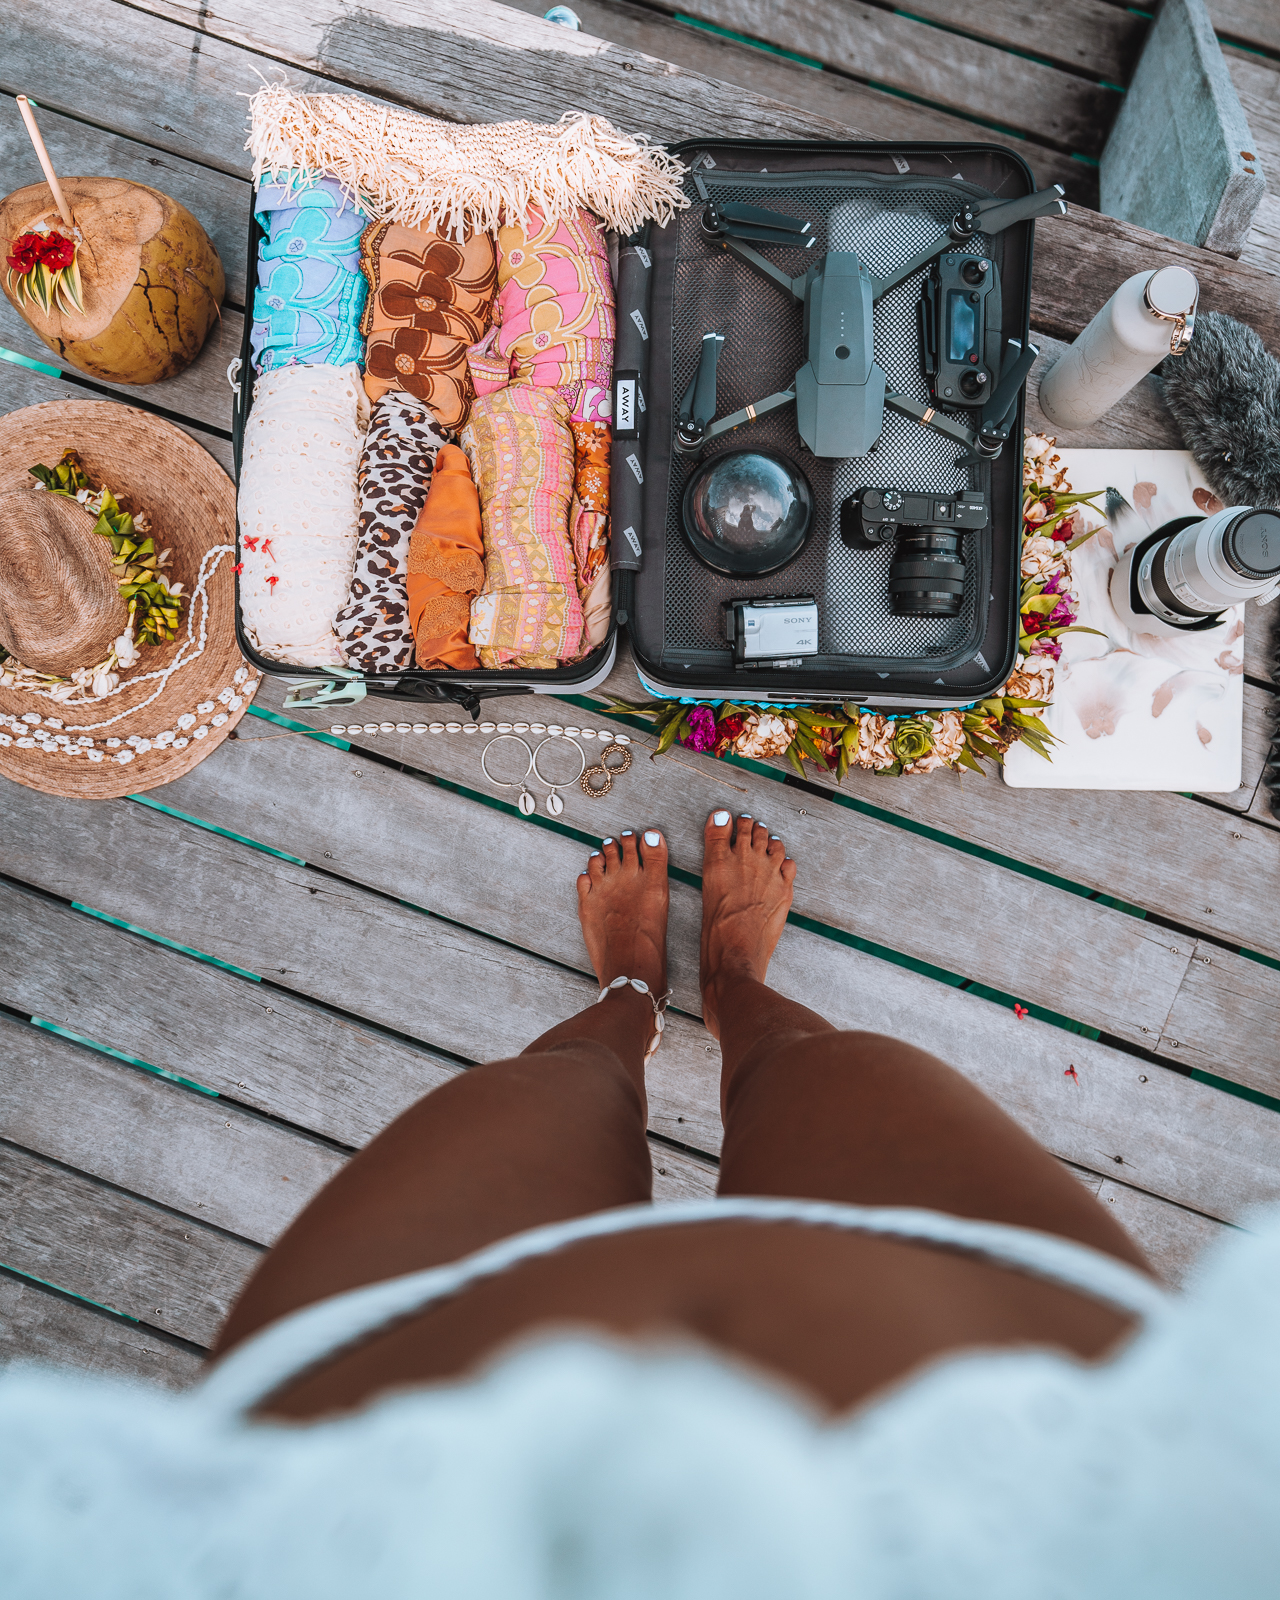
The Remote control comes with the drone, just providing for photo reference – you do not need to buy this separately 🙂
Underwater Photography:
I use the Outex Underwater Casing with Dome Port
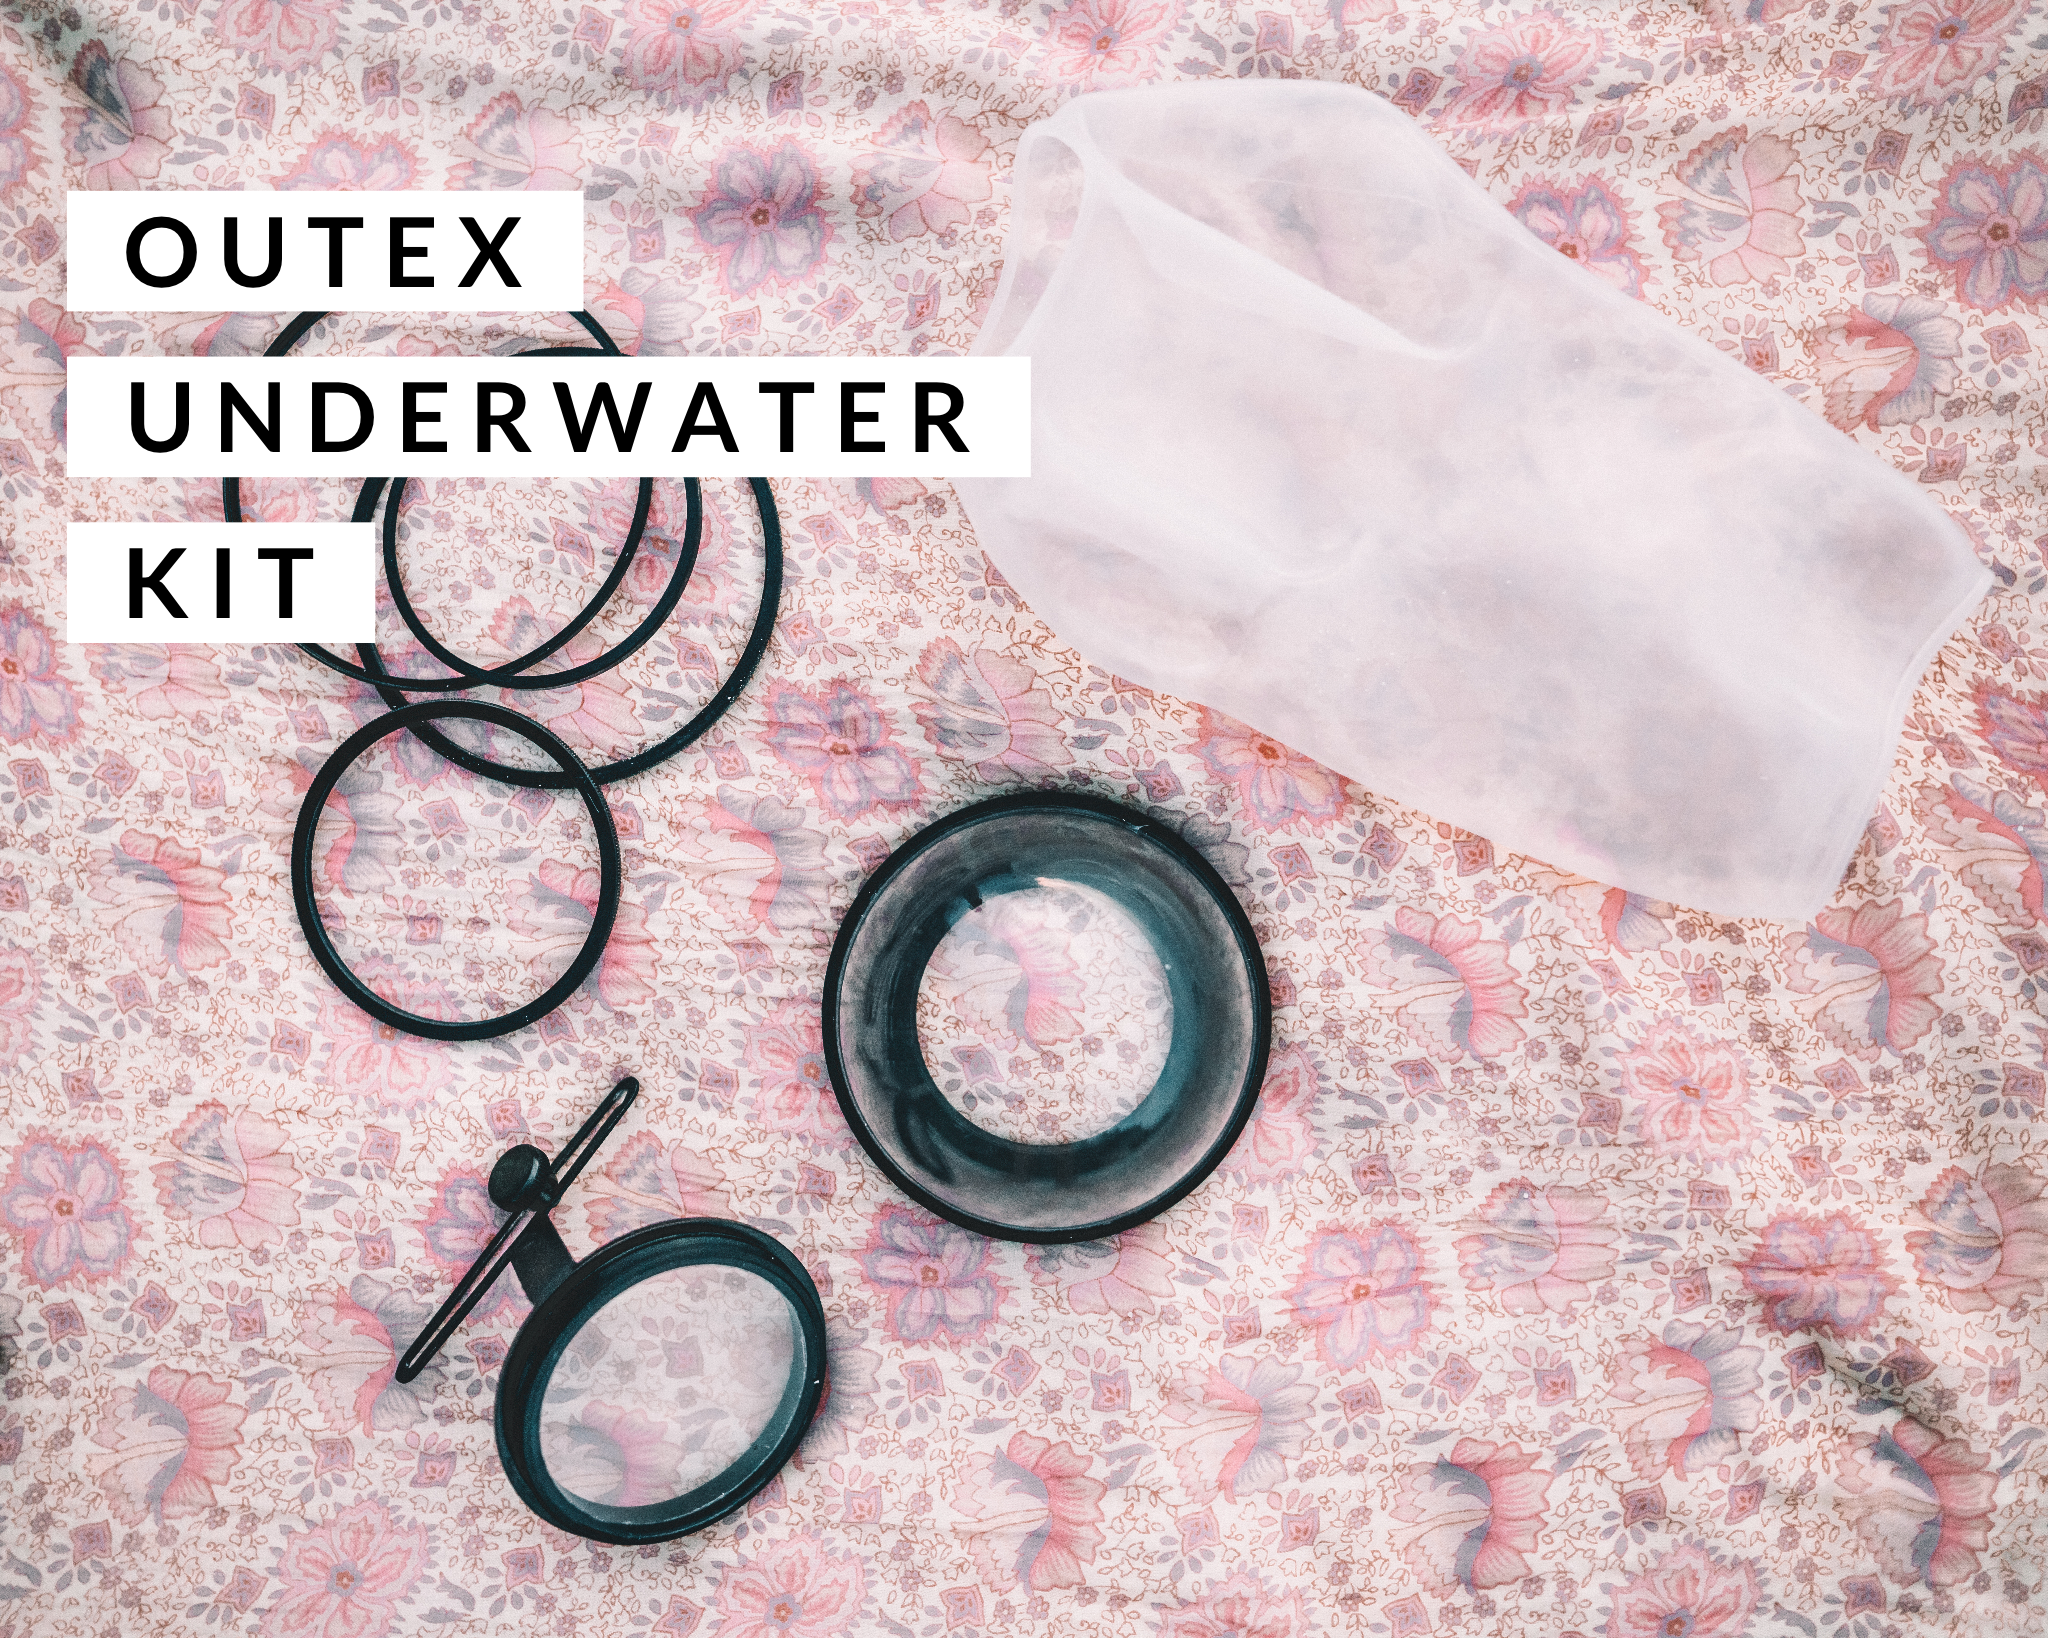
This underwater housing is every travel lover / adventure enthusiast / ocean lovers dream. It puts your camera in your hand underwater, while being light, super robust & extremely portable. I made the switch from a larger, much more expensive kit & I am absolutely stoked! It’s less than half the price of anything in a similar category on the market & provides the same value, if not more because you don’t need to worry about – ‘can this fit in my bag’, ‘will I be able to carry this all day to get that ONE shot’,’ is it worth it to bring’? I had all these feels previously (& it made me so upset because I LOVE TO SHOOT UNDERWATER – I might trek for 3 hours to find a secluded bay & I don’t want to miss the opportunity to shoot there, but I also don’t want to carry 4kgs on my back! This is the perfect balance.
FYI if you are looking to do split shots (half under water / half above) you’ll need a dome (the circular glass attachment pictured above) this allows the water to disperse around the dome so you can capture this style of image. I use my dome all the time, even for general underwater shots – there is no distortion, so you can keep it on at all times. If you don’t think you’ll be taking this type of shot, you can purchase a flat glass lens cover too, there are both options 🙂
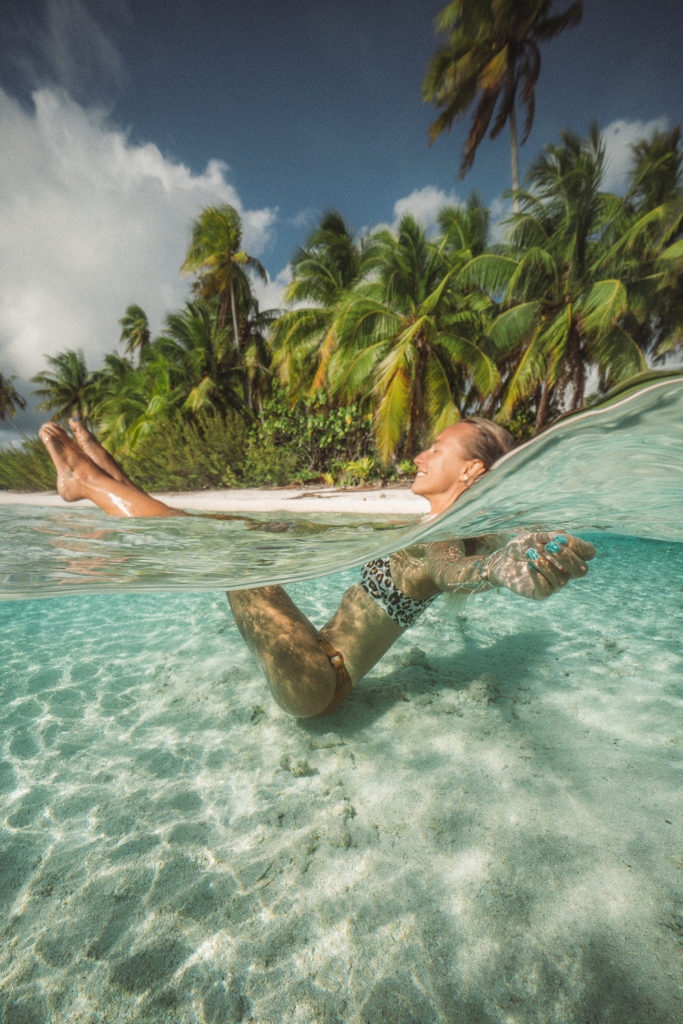
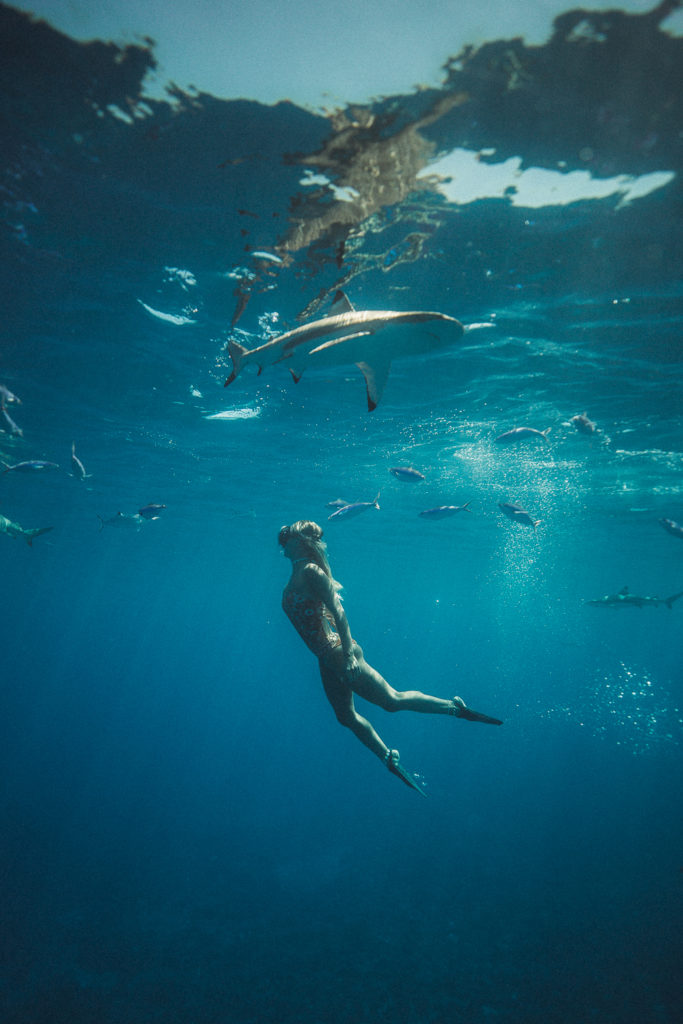
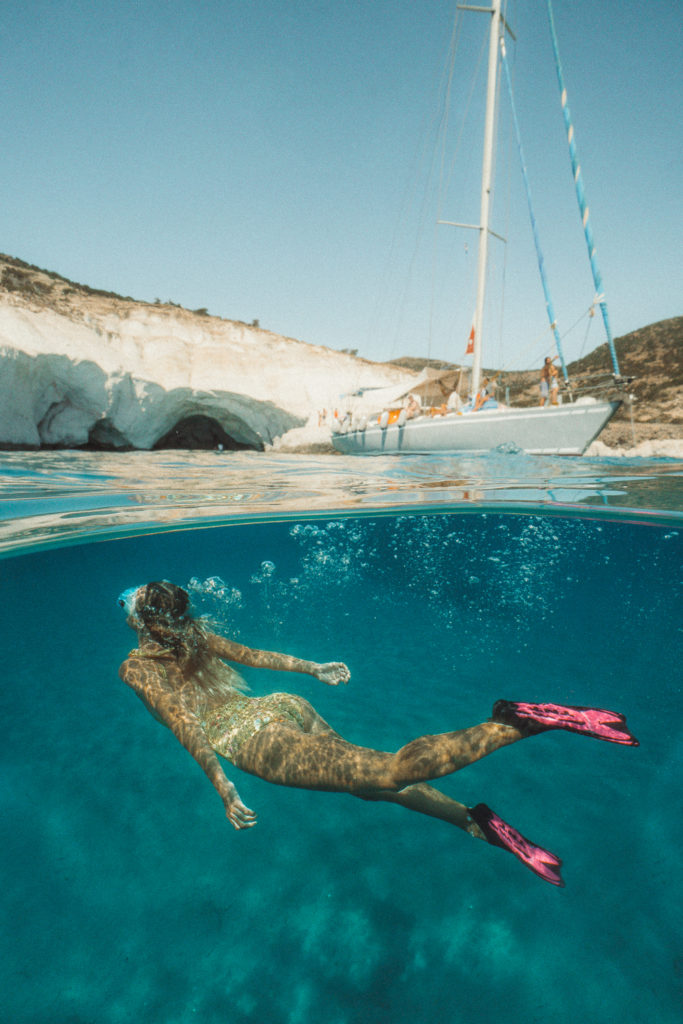
Photos: Left & right taken with dome, middle shot taken completely underwater also using a dome.
Stabiliser:
I use the Zhiyun – Tech Crane plus
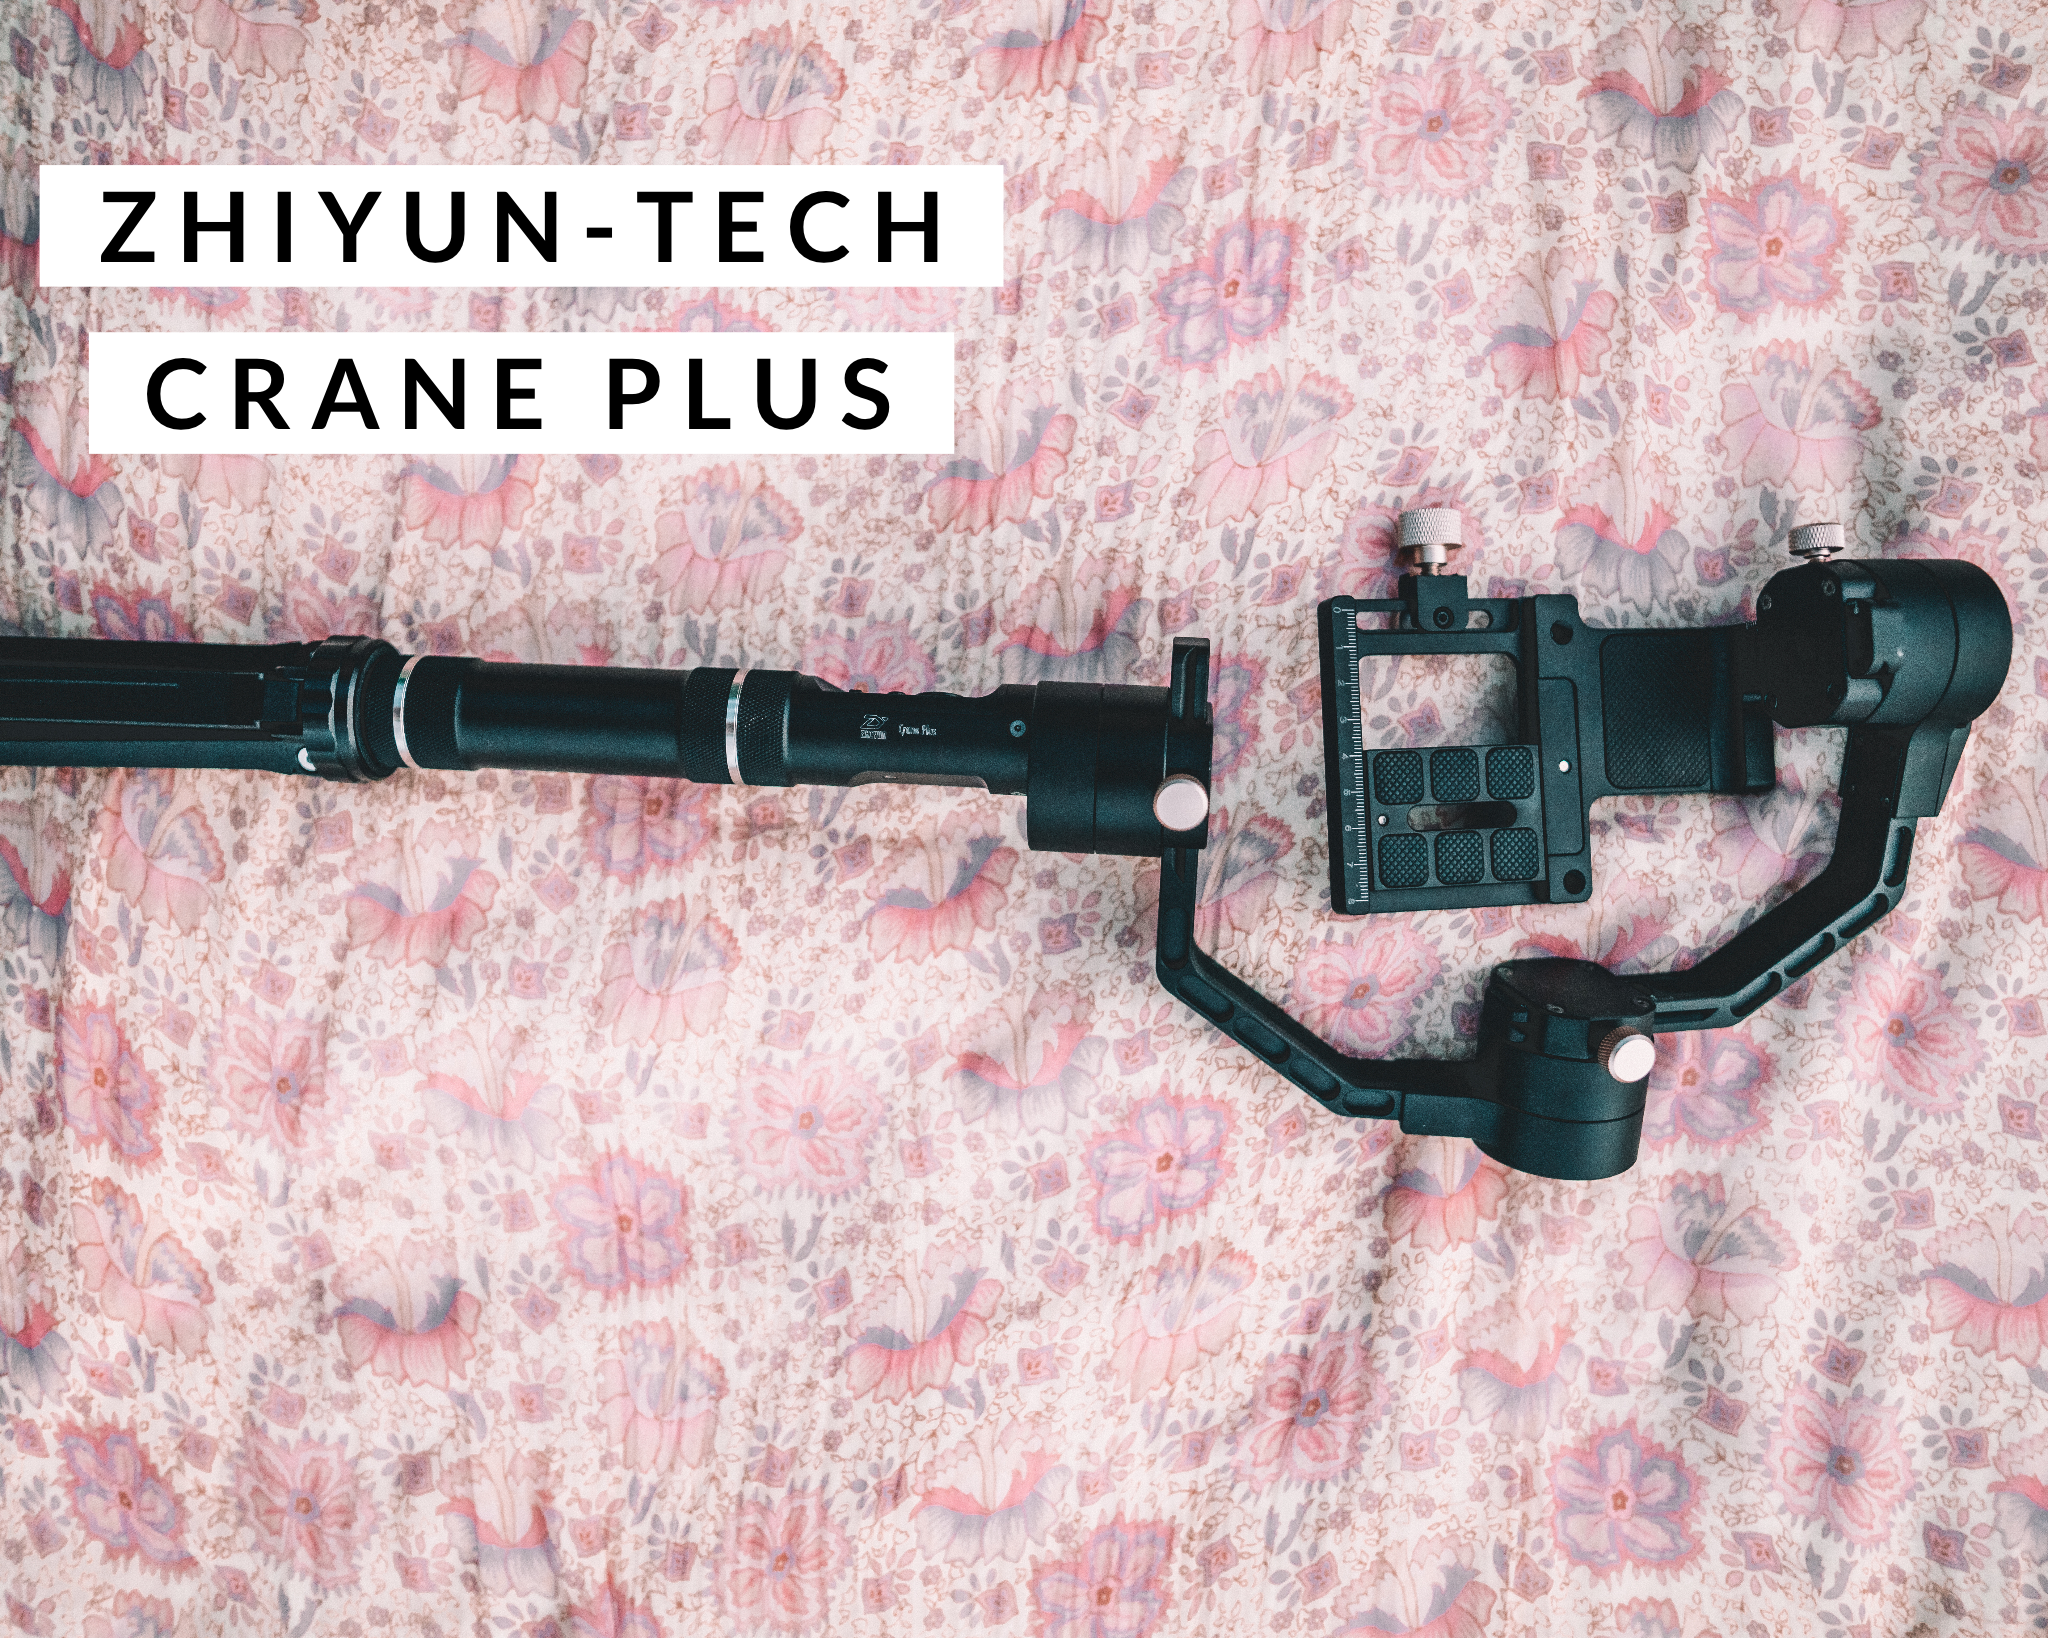
Ever wonder how your fav creators manage to capture that perfect clean footage without any shaky / wobbly parts?! This is it. This stabiliser is new to my kit, but I am really loving it. I’ve always wanted to create smooth buttery video & now I can with this lightweight / handheld dreamboat. I use my Sony a7riii + 24mm lens & it handles it really well (just be sure to check the total weight of your equipment because everyones gear will weigh differently depending on your body & lenses). The total weight it can manage is 2.5kg, which to be honest is quite heavy, so most of you should be fine!
Filters:
*Do not skip past this part – learning about filters has been my biggest photography learning of 2019 so far
I use GOBE Lens Filters
Firstly, these guys plant trees with every purchase. They have a deep love for the environment & that makes me so proud to be affiliated with them. Secondly their products are probably the most reasonably priced filters on the market, retailing between $29 & $60 (for packs).
UV Filters: I highly recommend using their UV Filter, which adds protection to your lens and can be left on at all times (you can attach filters on top of them). They reduce UV light from entering your lens so reduce haze and in turn improve picture quality.
ND Filters: I highly recommend the ND8 & ND64 (these are my favs & I basically do not take them off during the day – I just select which one based on lighting conditions. ND filters also allow you to create those dreamy silky waterfall or wave scenes (even during the day).
If you are a videographer, ND filters are especially important. I would say this has been one of my biggest learnings this year & has really supported my growth as a videographer. You simply cannot shoot slow mo, shoot at a large aperture (to blow out your background) & or create beautiful bokeh without ND filters, as your shutter needs to be double your frame rate & in the sun – trust me I’ve tried, this is impossible.
Accessories:
I use Sandmarc Drone Filters
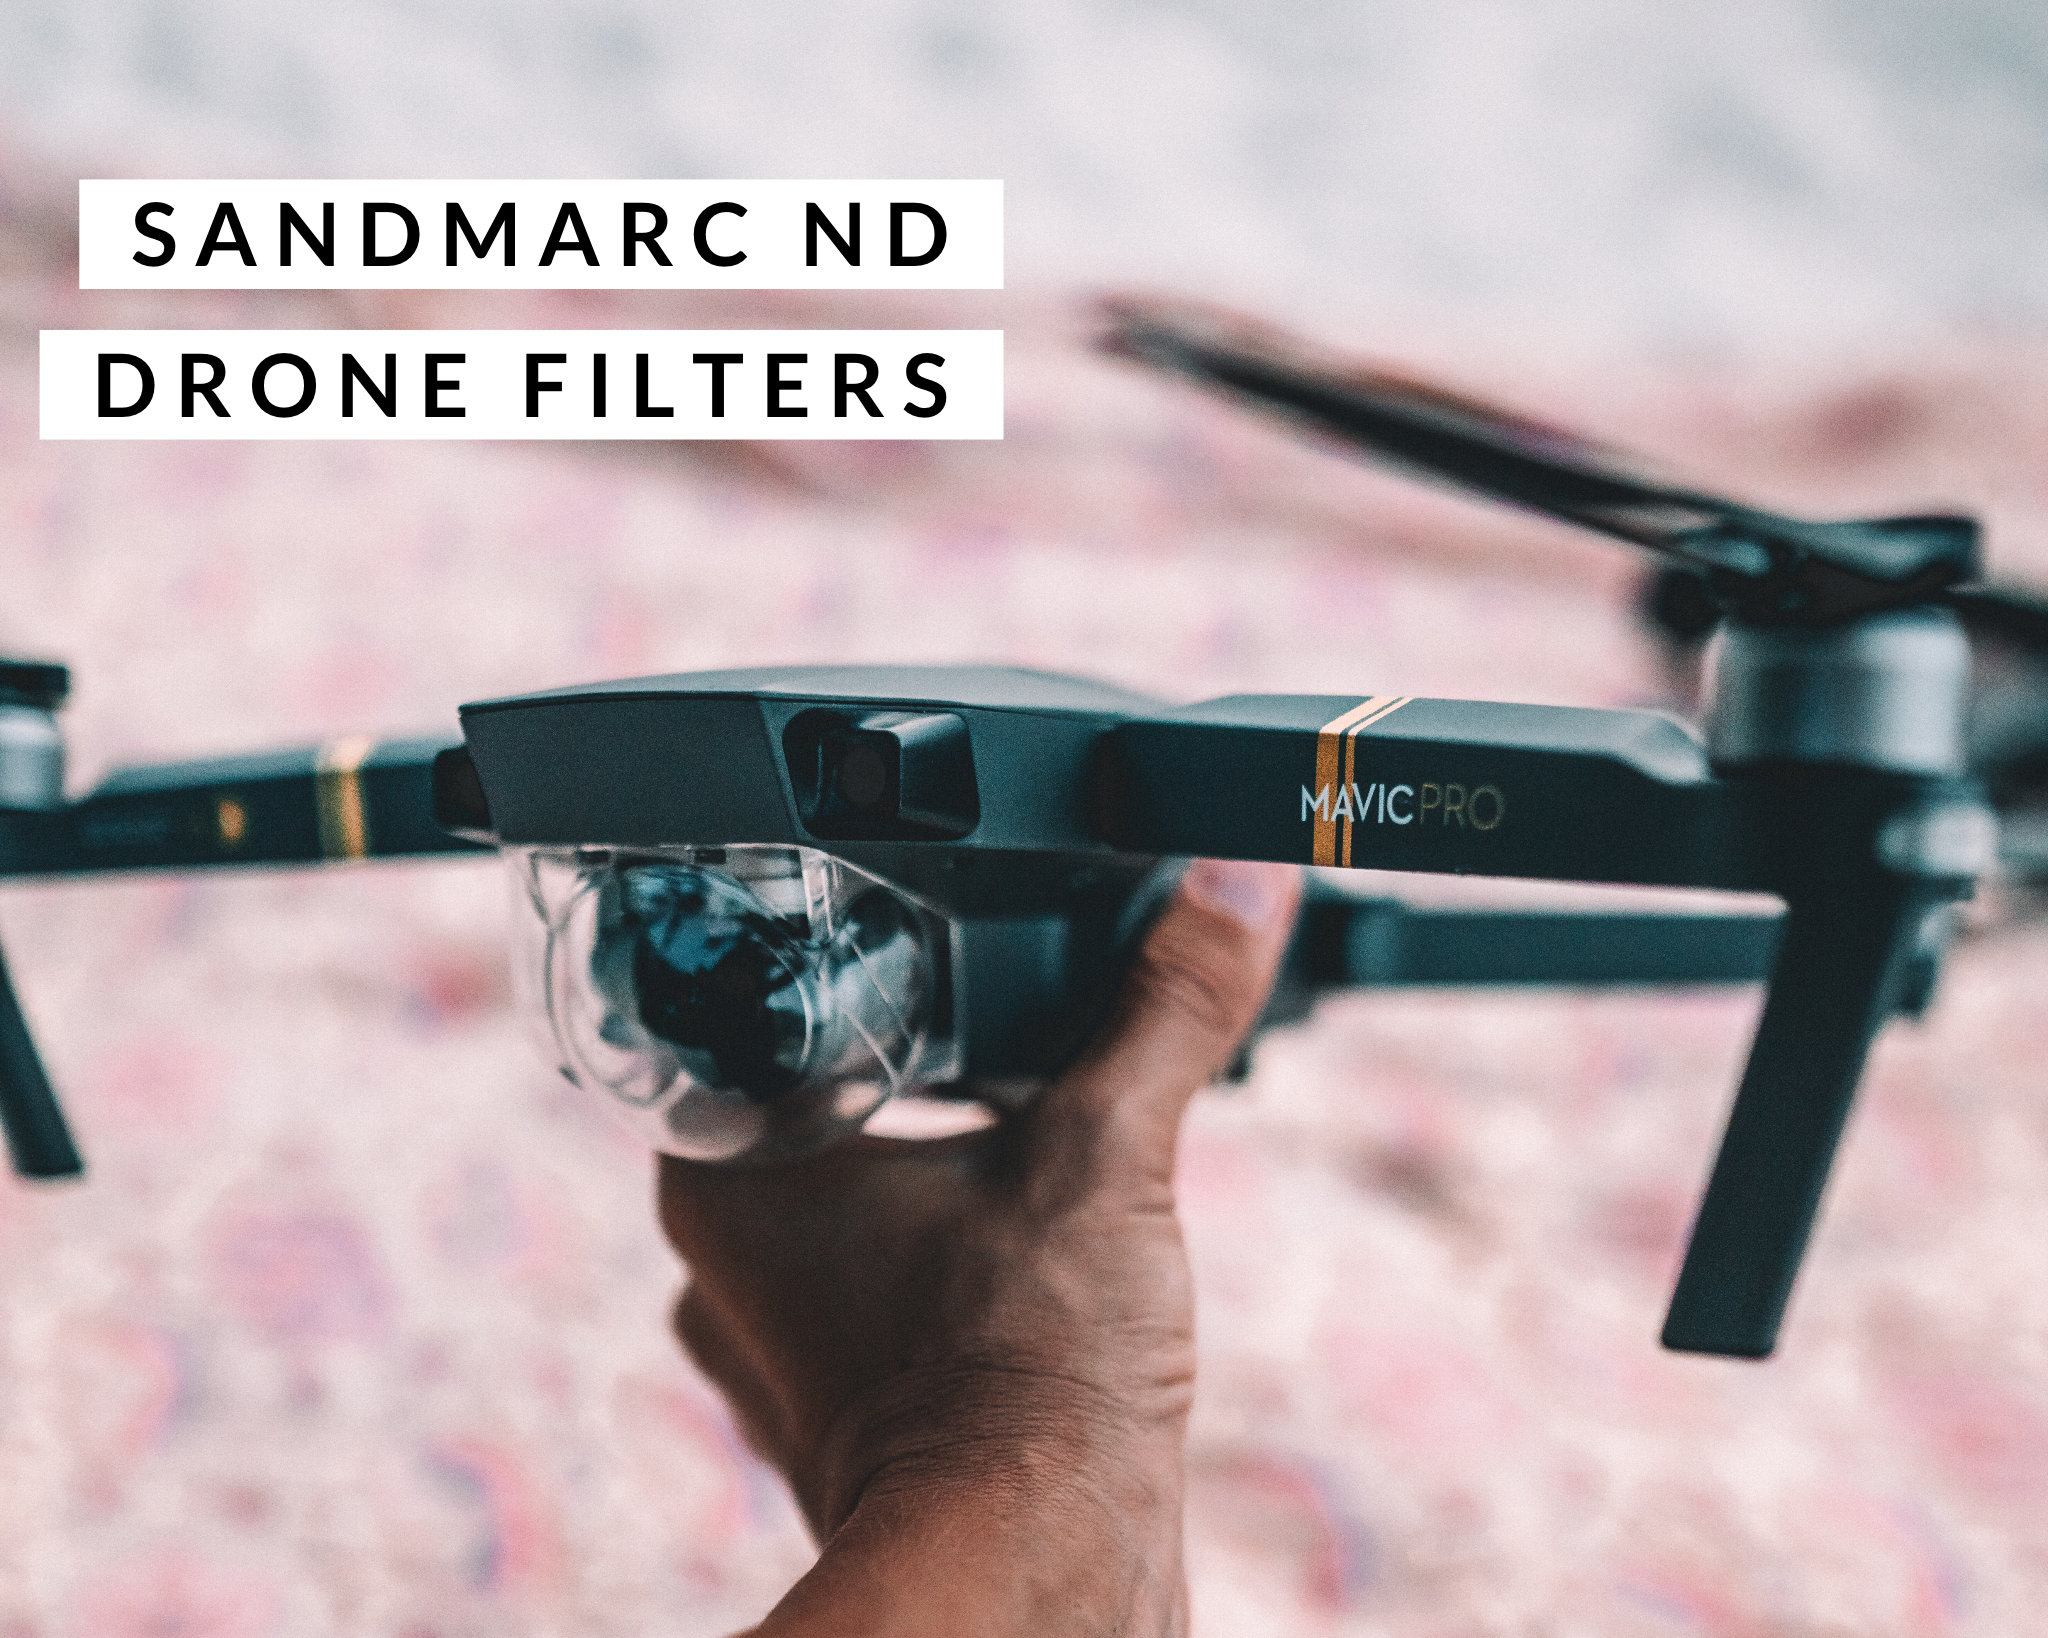
I didn’t realise how important ND filters were until I flew my drone in the Maldives WITH ND filters. Anyone shooting during the day, in high light situations should invest – you can get a pack for $99 & seriously, these will up your game. Say goodbye to glare & washed out images. These are essentially sunglasses for your drone – don’t fly without them.
I use the Lacie 4TB Hard Drive
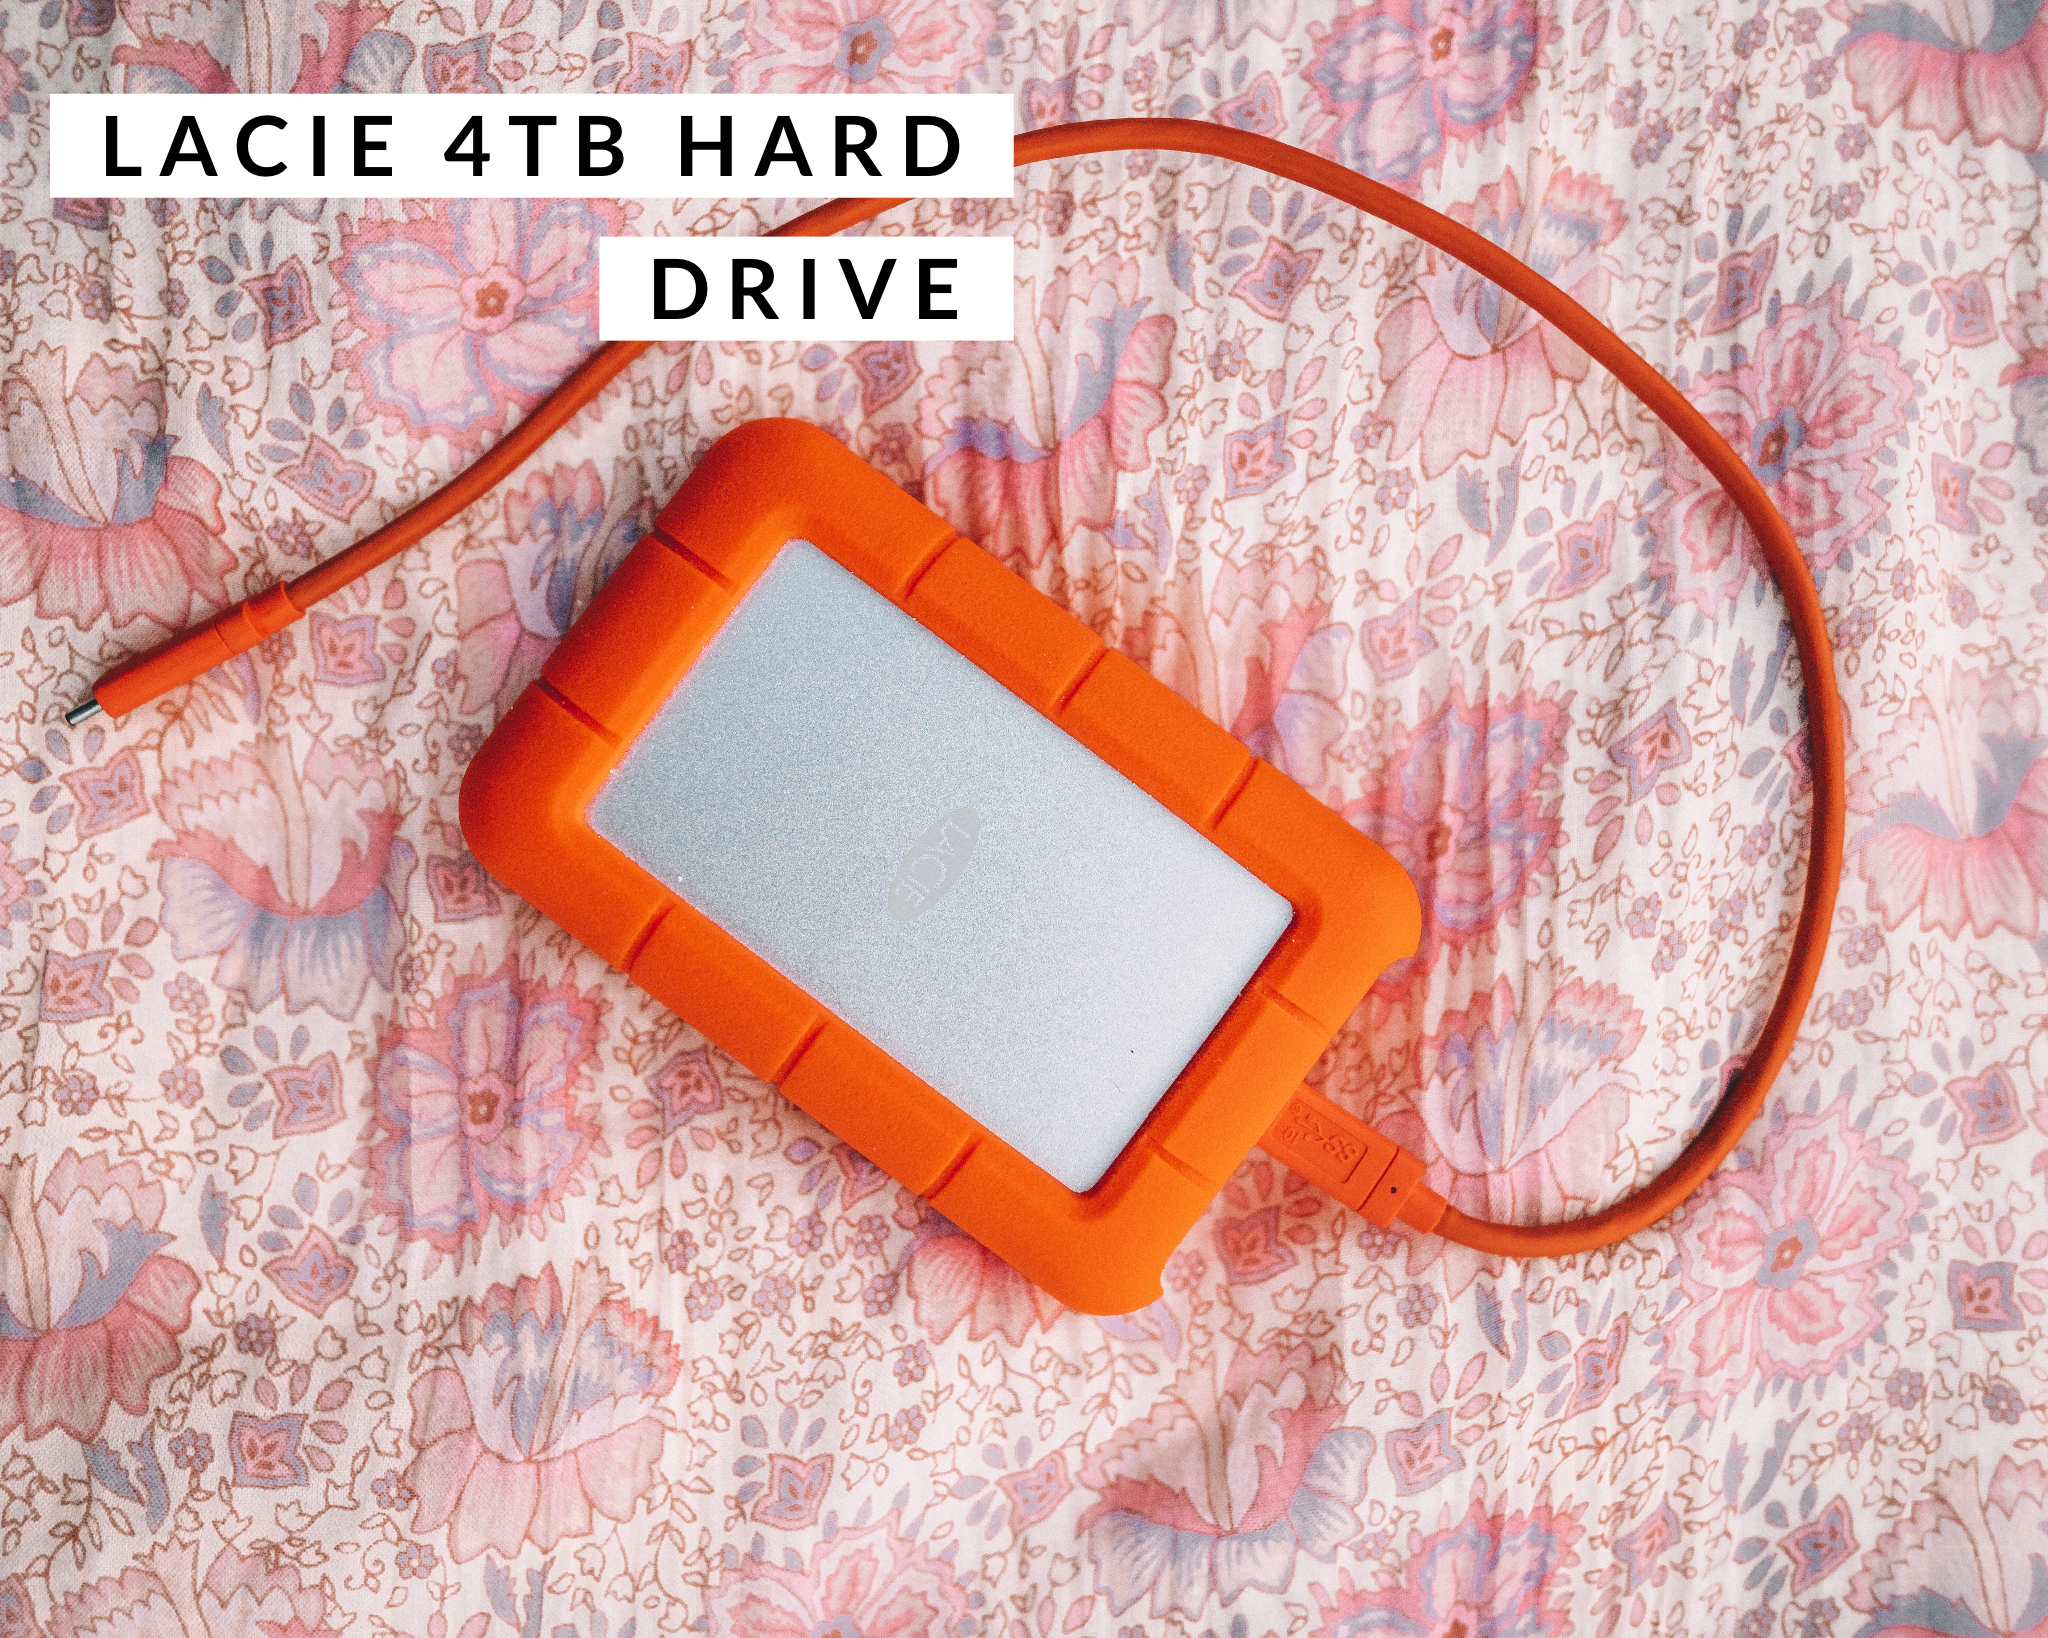
If you don’t have one, please get one, you are making me nervous. Rule of thumb, always back up EVERYTHING. I have lost precious files before (it does happen, data cannot be retrieved & with no explanation). It’s just not worth it – these things are so cheap when you consider how valuable your data is.
I use the CYGNETT Portable Charger
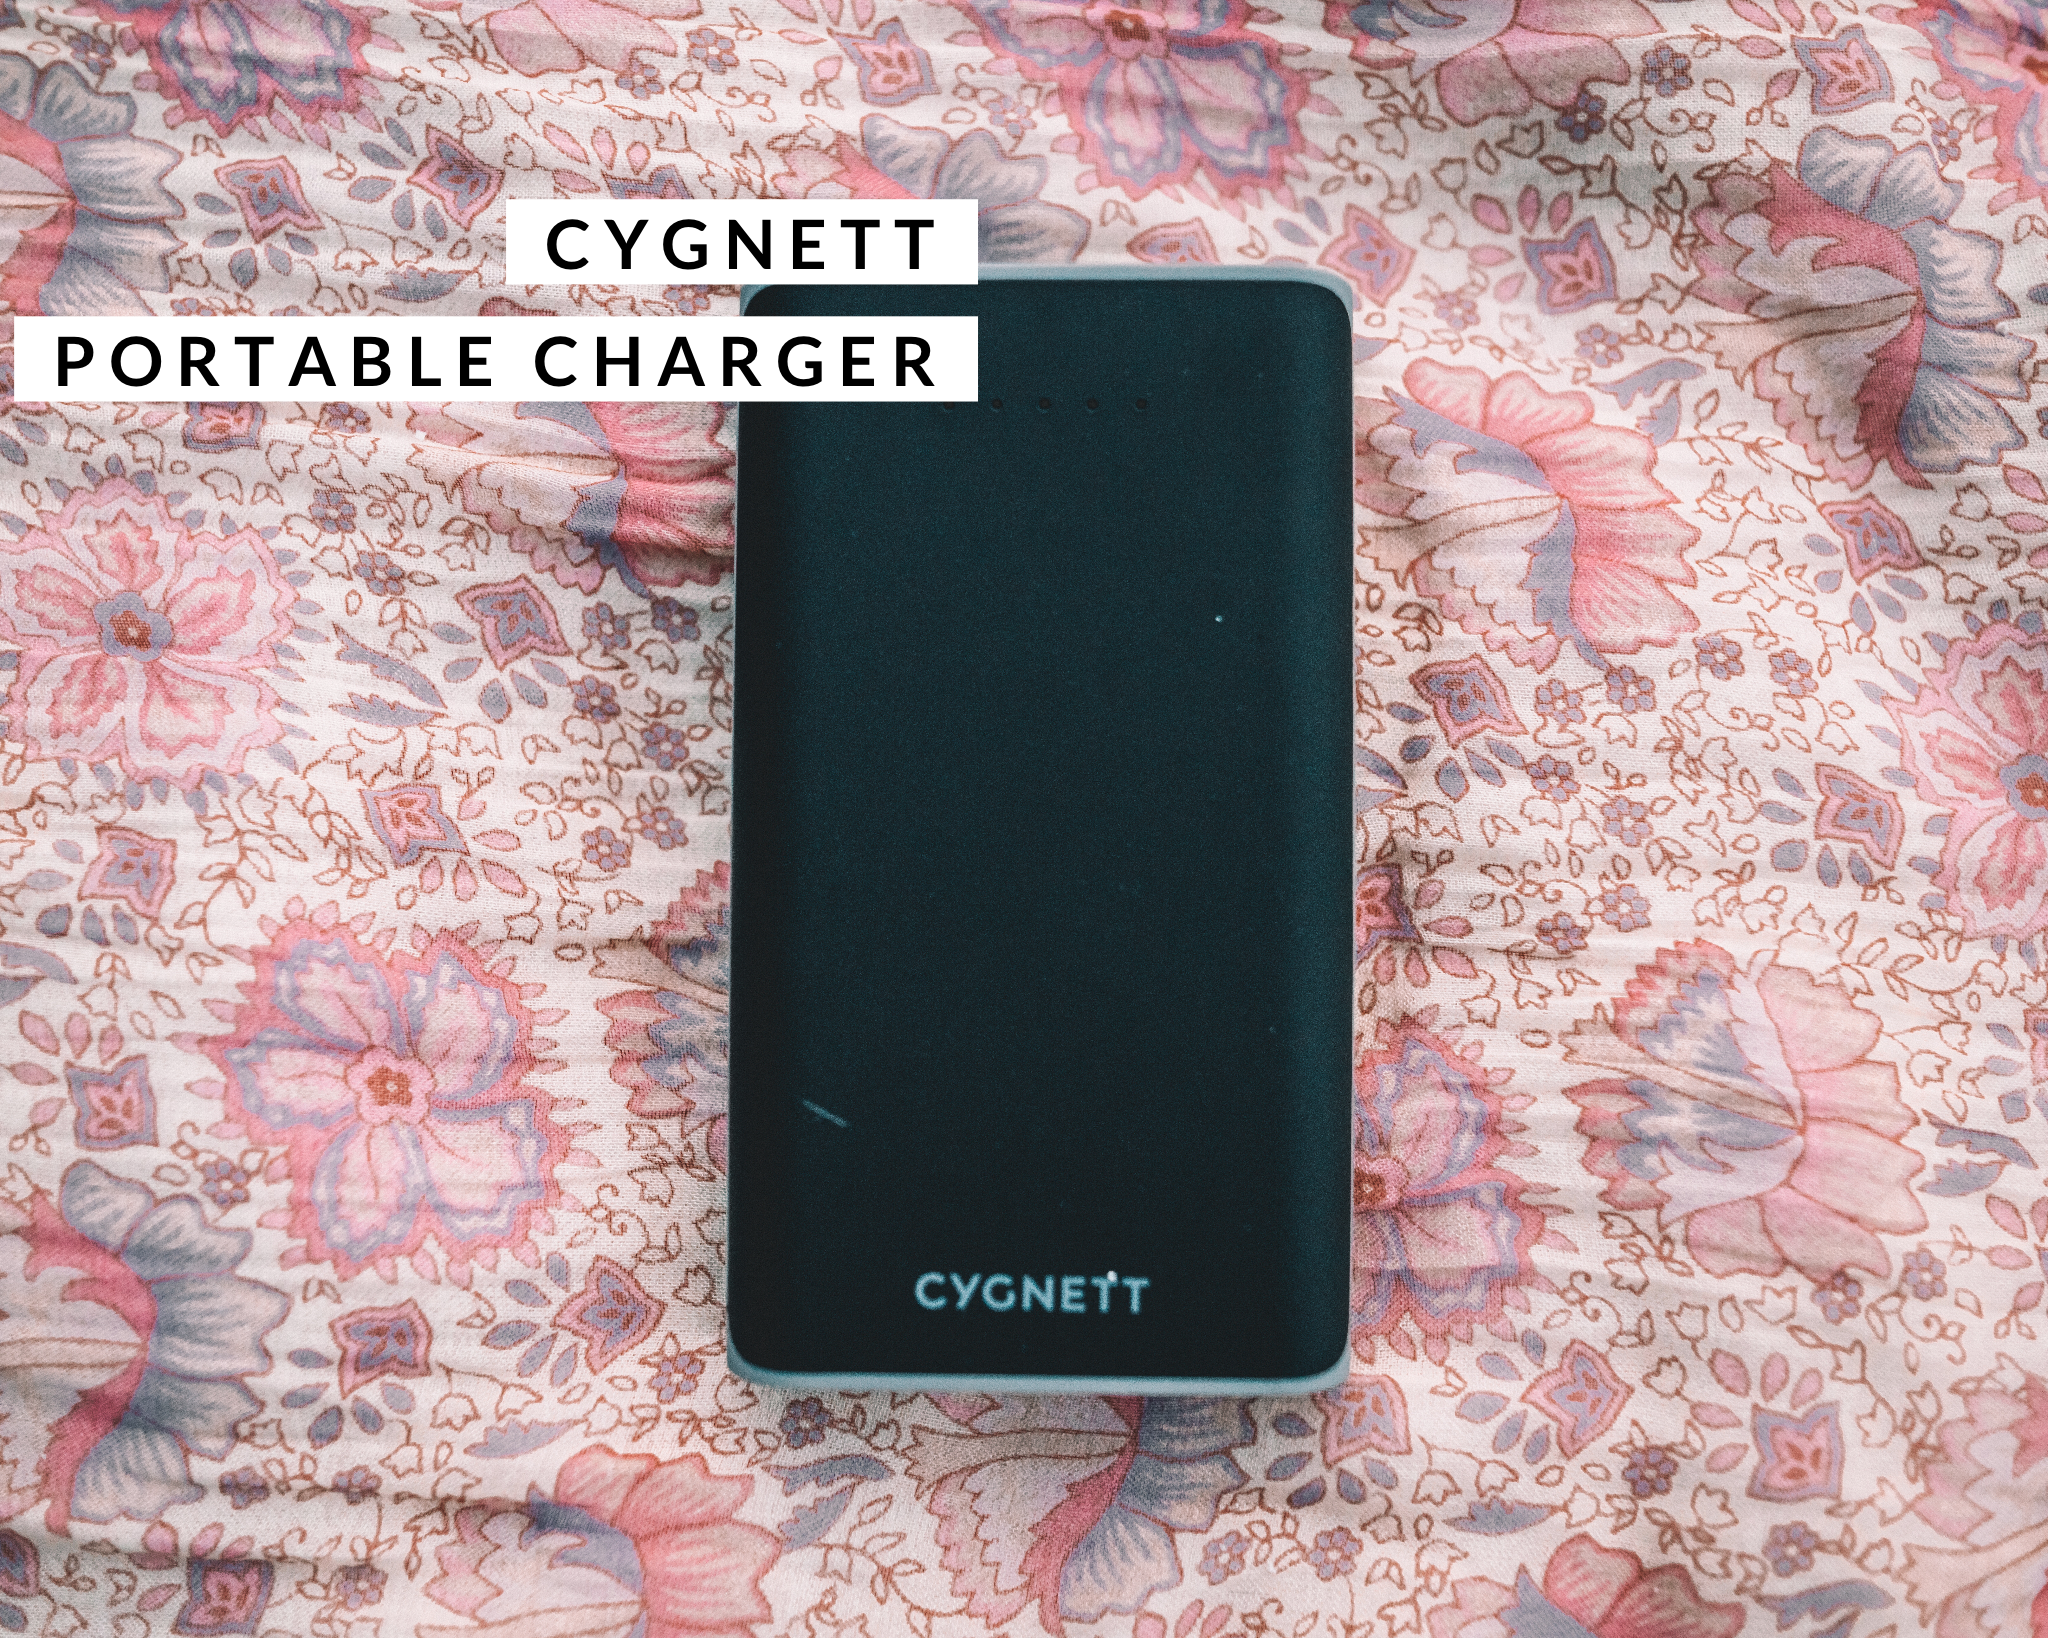
Never be caught out again without phone charge. Especially important if you travel a lot, use a drone (because of course you need a charged phone to use your drone) & or just are on your phone a lot! When fully charged this portable charger will charge your phone 5 times (it has 2 USB portals too so you can charge another device at the same time!).
Travel Bag:
Matt & I both use WANDRD bags
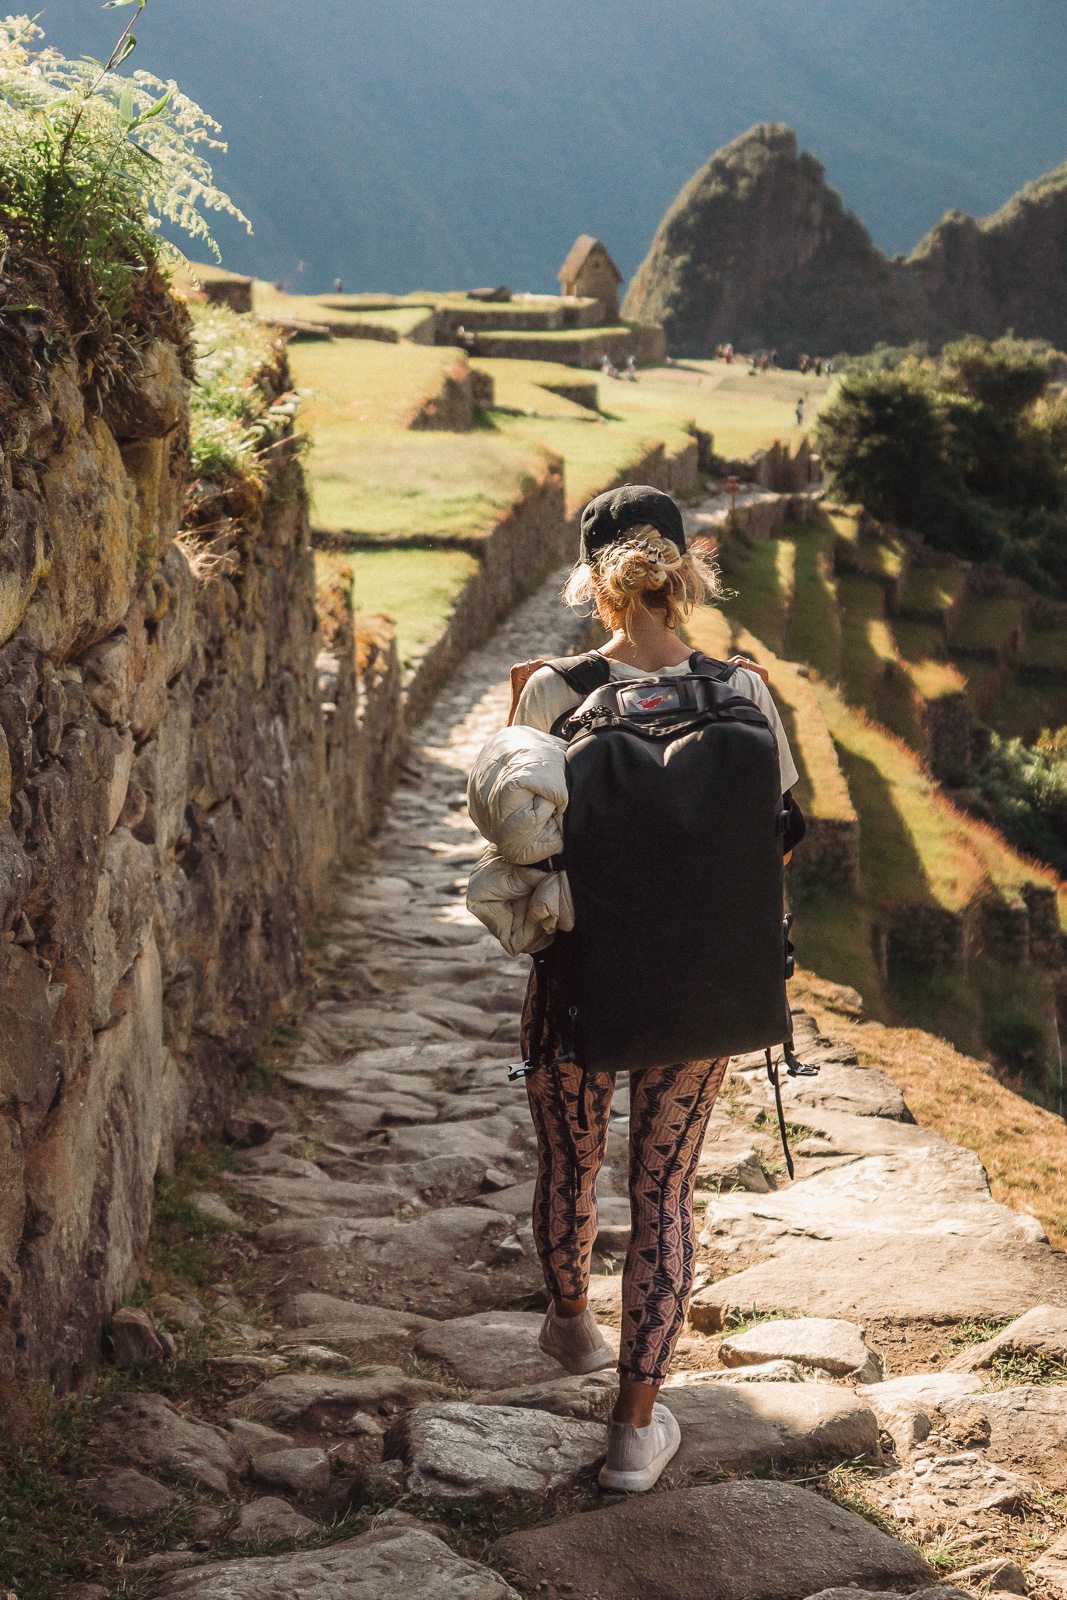
These are the best on the market for functionality & with the modern traveler in mind. The Duffel Bag is perfect for short haul trips or those where you need to pack light. However on long haul flights I use this bag as my check in camera bag – with all its thoughtful compartments, it is perfect to protect my beloved gear.
Thanks guys & happy travelling xx
Thanks for sharing your secrets with us, you are amazing. I love your feed.
I love these posts, but the bad part is that I always get so inspired to buy new camera gear! ?
This is amazing. You should seriously consider making more Youtube Vlogs. I honestly think you will kill it in that market.
This is amazing info!!! Thanks for sharing. I think we are all so obsessed with your content, I would even be interested in additional in depth details vlogs/blogs about how you create your content use your equipment ?
This was awesome! I have the Sony 6 and I love it but I’m scared to travel with it. When you’re traveling what do you do with your gear? When I’m on the beach I want to take photos but then enjoy swimming in the ocean and I’m afraid to leave my stuff on shore. Would love to know what you do.
Hi Shannon – I know it can be nerve-racking! We take our gear everywhere and so being street-smart and not flashing our gear around helps to keep it safe, I find! It’s always. risk though unfortunately.
This is the nicest packed photo bag I’ve seen lol
Clothing, Drones, cameras. Can life be anymore perfect?