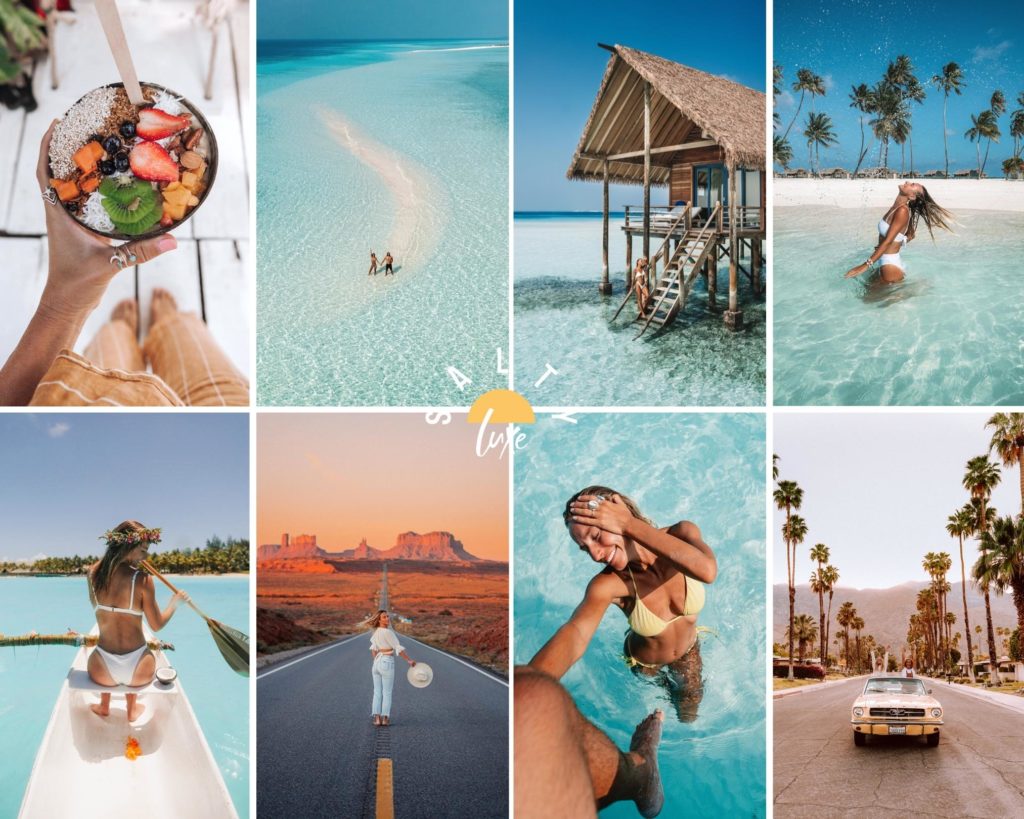
If you’re wondering how to edit stunning imagery & transform your photos using presets, you’ve come to the right place! This ‘How to edit photos using presets’ blog covers everything you need to know to take your photo editing to the next level & is perfect for beginners right through to pro’s!
Presets are an essential & powerful tool to elevate your unedited photos. We use presets on every photo we post! We love how they help us stand out, achieve a unique & recognisable brand aesthetic & create consistency on our instagram feed. Visually stunning content & storytelling is key to growing on social media, as well as working with brands – so we highly recommend adding presets into your editing game to give you an edge!
Editing with presets takes a bland image & completely transforms it into a work of art (that’s the power of presets!). Once you get the hang of them, editing becomes very simple. You can edit straight from your device if you’re on the go, or via a desktop computer.
Photos are a memory captured forever. They’re special to us & we often work super hard to take the perfect one. They deserve a beautiful outcome, which can be achieved though presets.
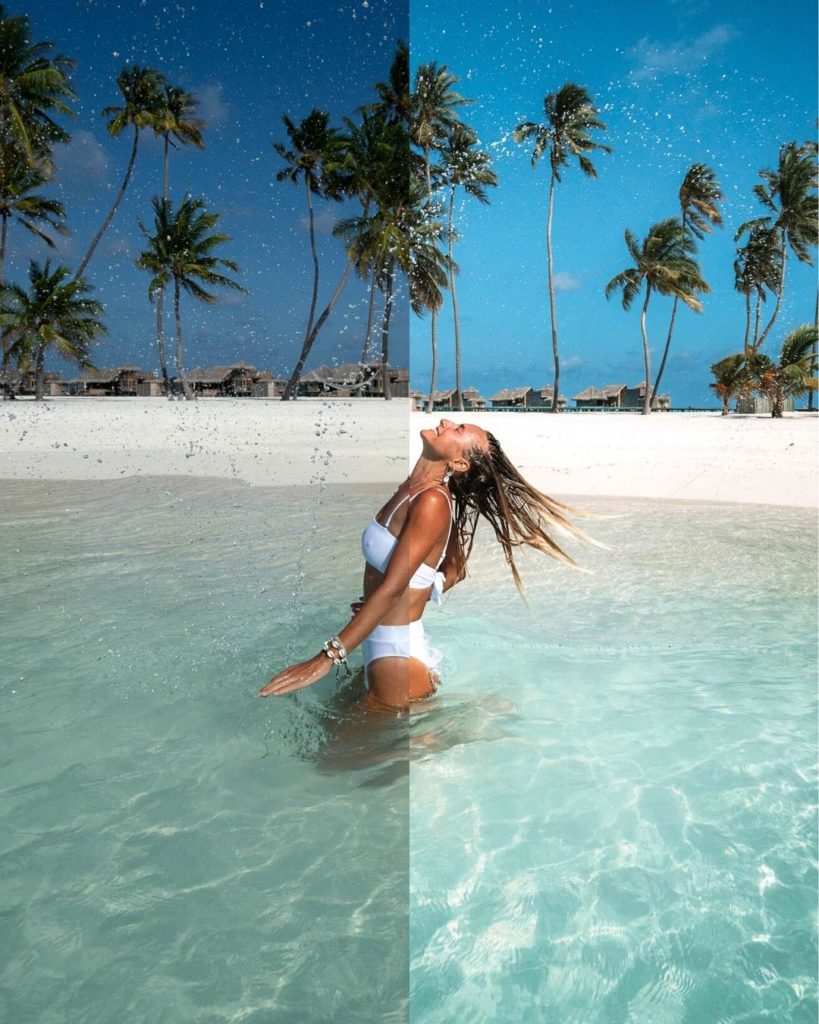
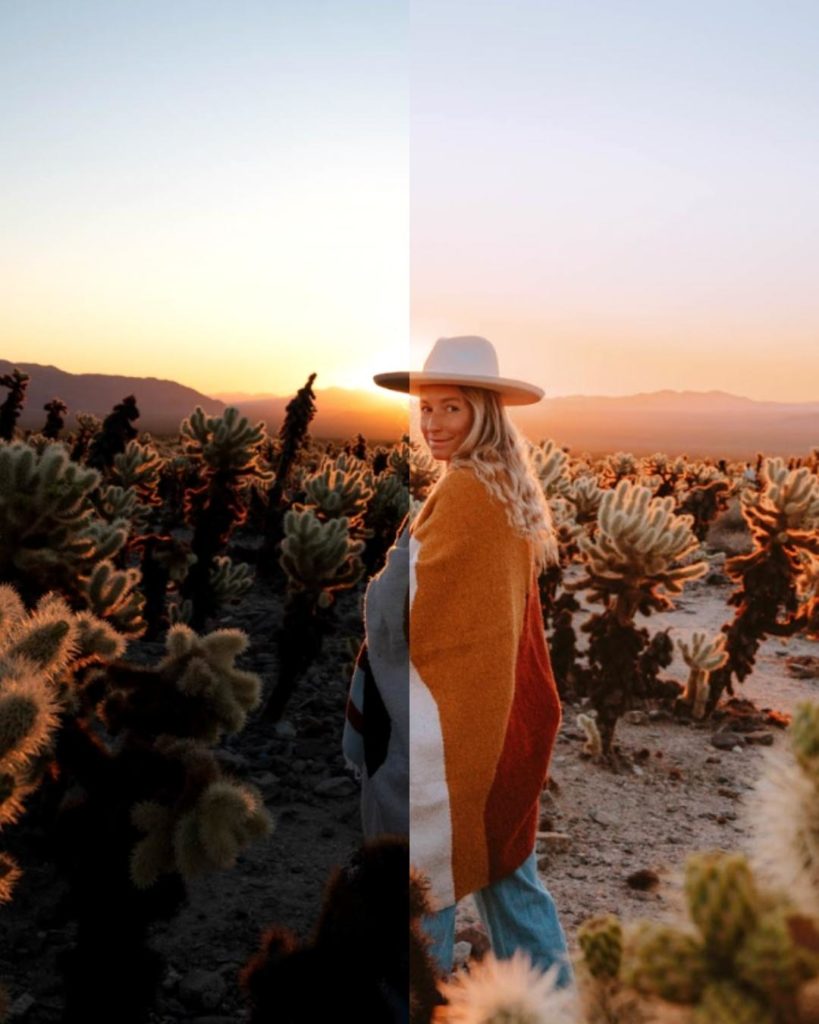
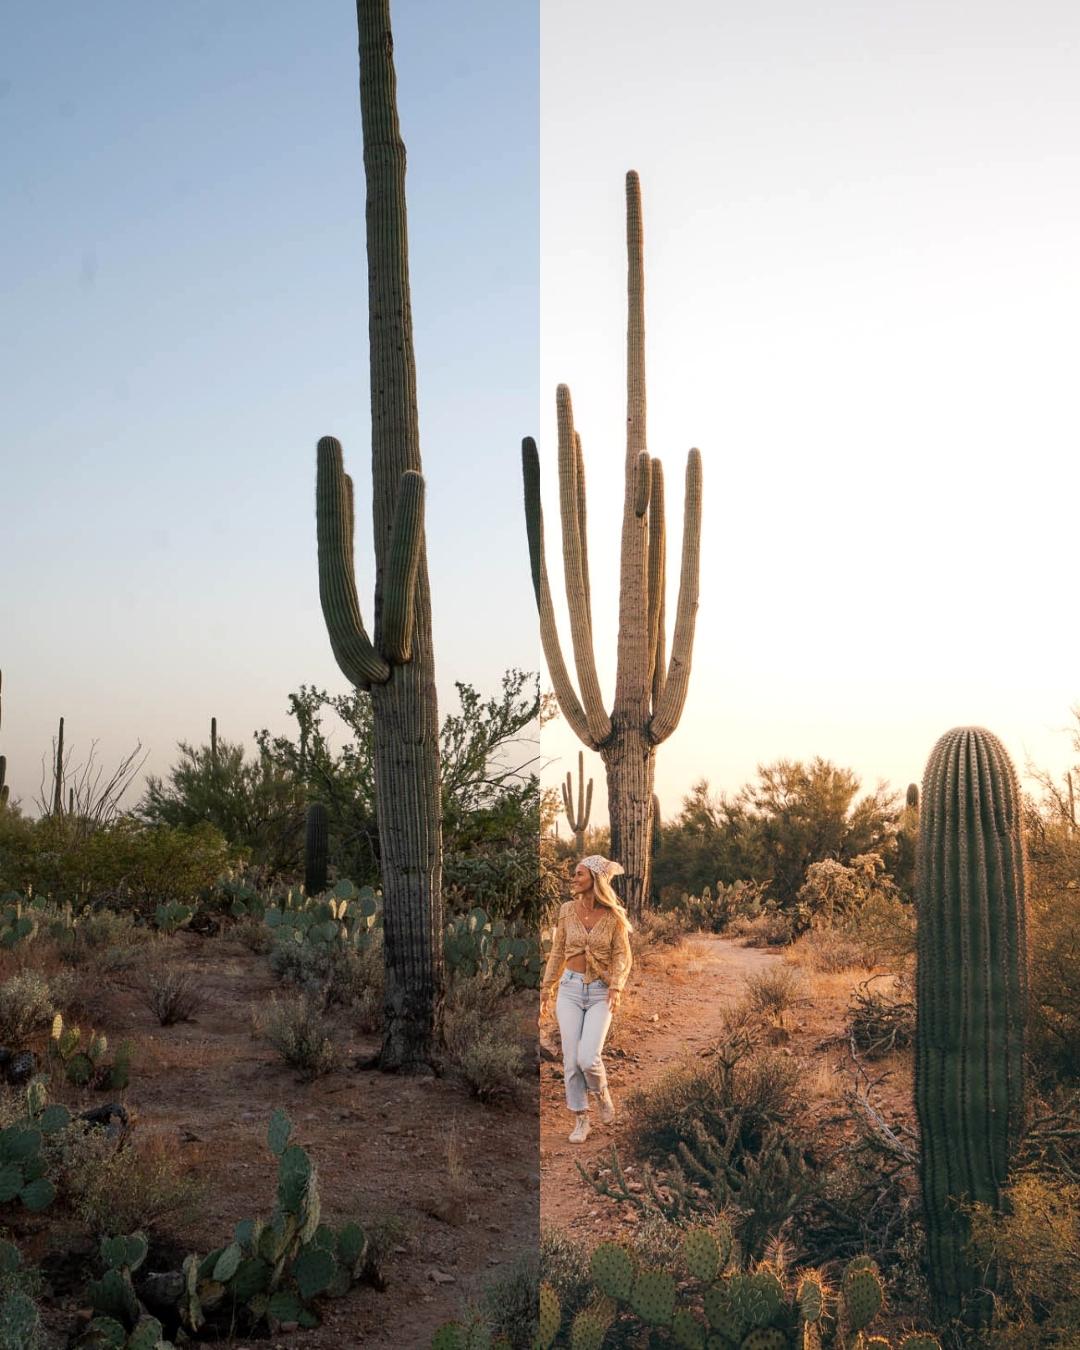
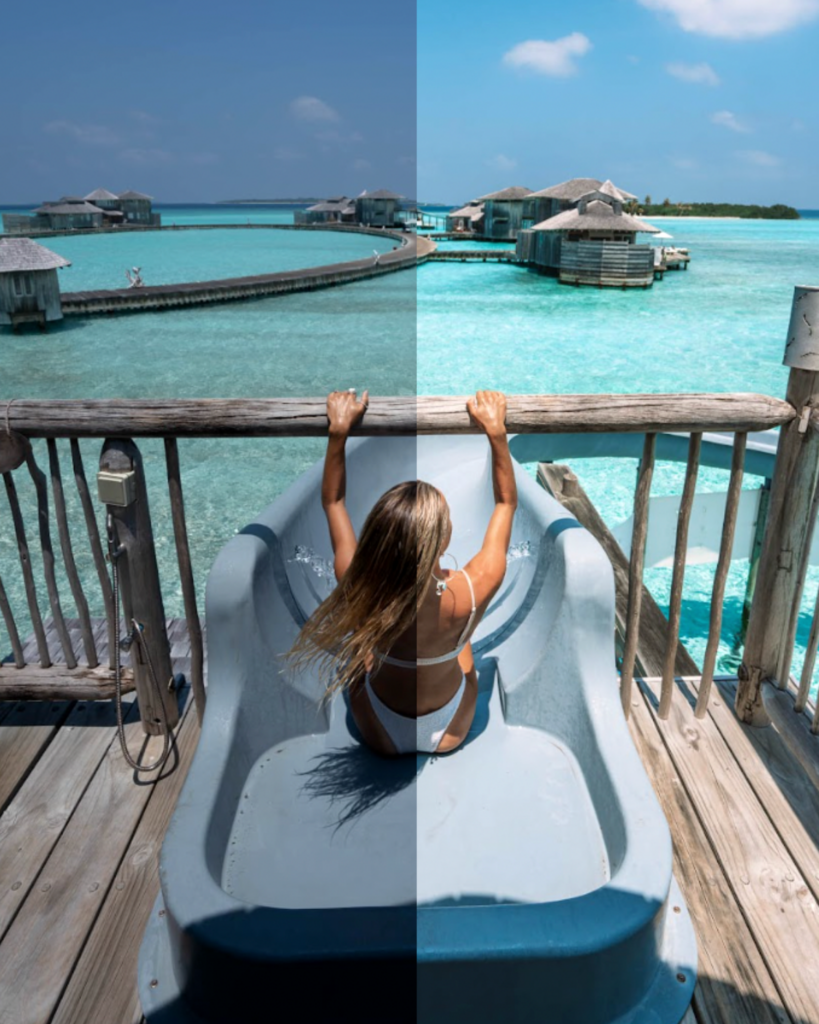
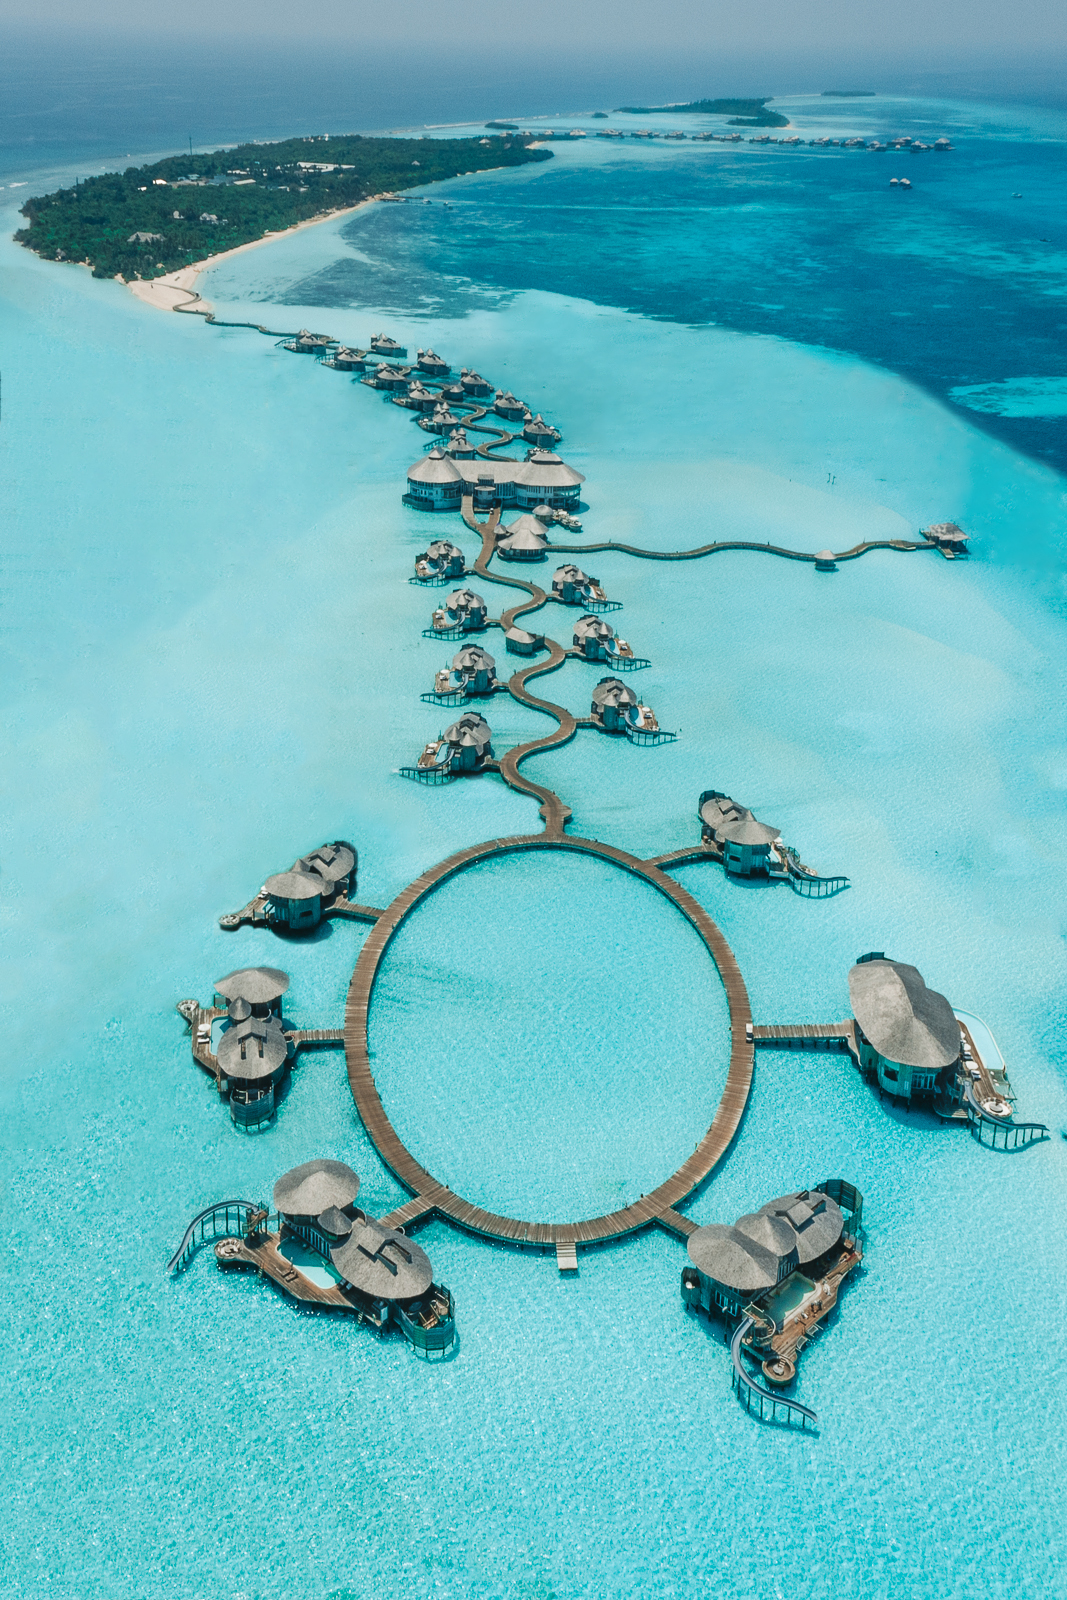
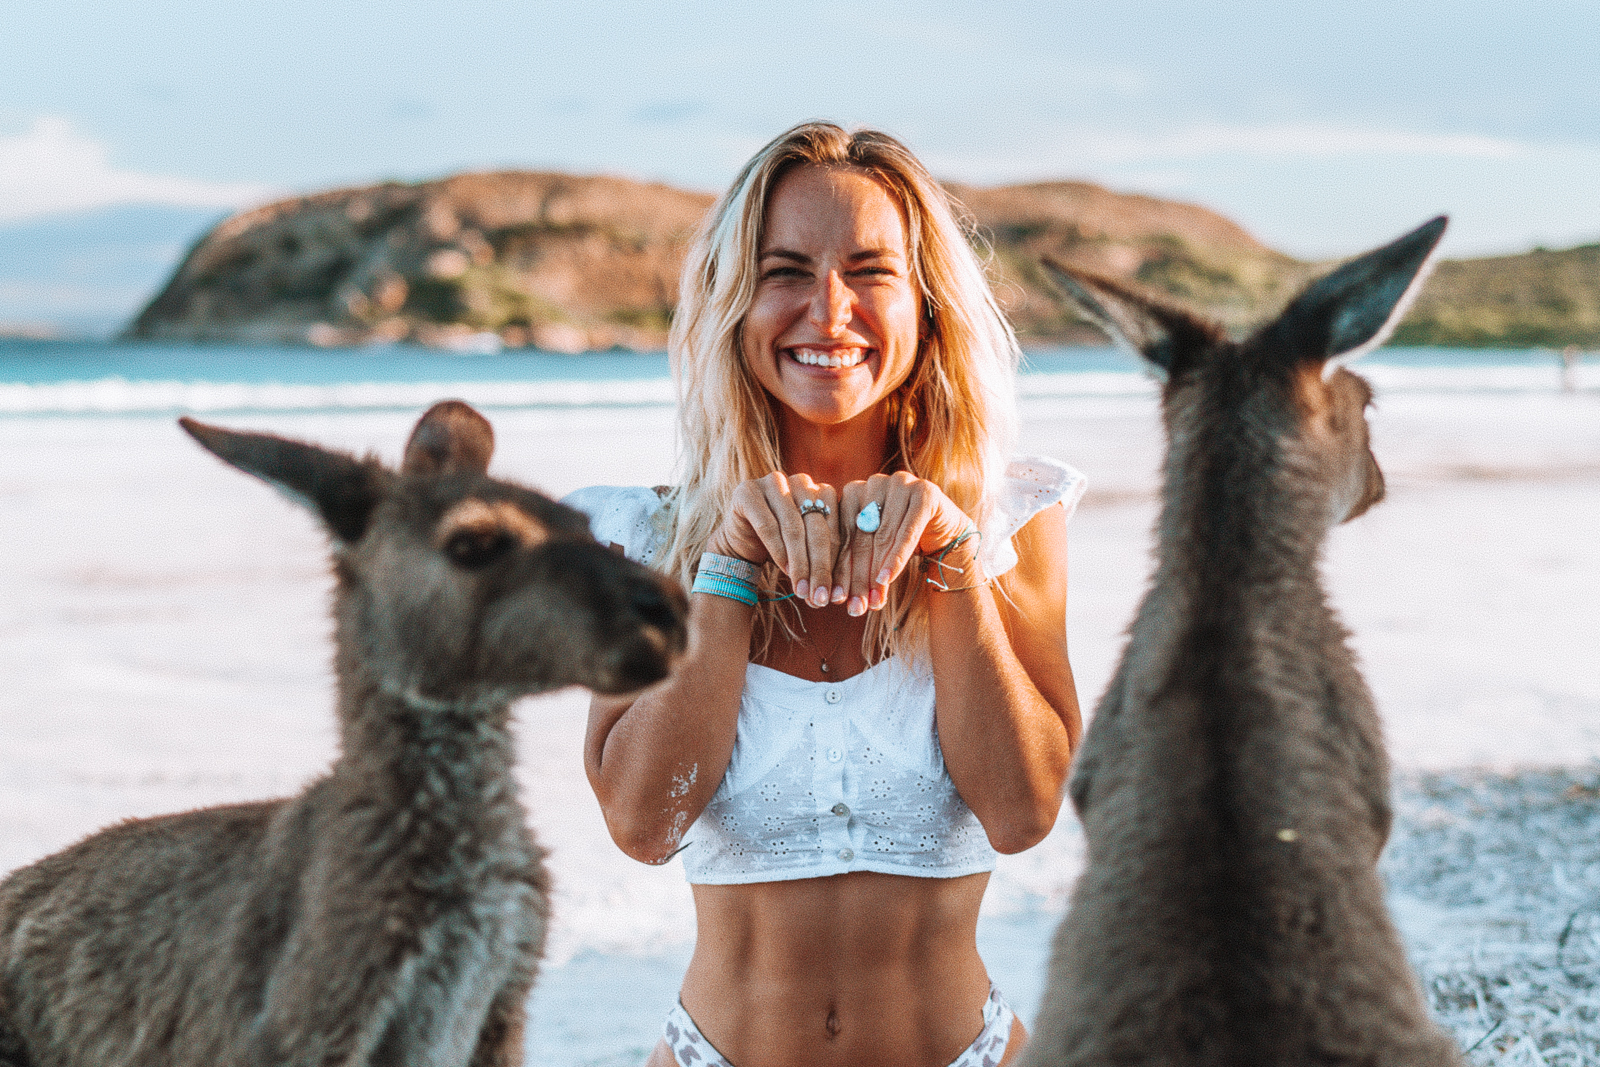
Check out some of our before & after photo edits below! Edited using our SALTY LUXE Presets.
What is a Preset?
A photo Preset is a digital file that has pre-determined (or pre-set) photo-editing settings that can be applied to any image.
PRO TIP: Presets will work on any image, but for the best possible outcome we recommend shooting in RAW. This means you’re capturing your image at the highest quality & you’ll have more data to play with during editing stage. Simply switch to RAW in your device settings to unlock the full potential of presets.
Some common settings changed to create a preset include:
- Temperature (adjustment between warm and cool tones to the image)
- Exposure (brightness of the whole image)
- Contrast (the variation in brightness between elements of the image)
- Highlights (adjusting the bright parts of the image)
- Shadows (adjusting the darker parts of the image)
- Saturation (the intensity of the colours)
- Colour (adjusting hue, luminance & saturation)
- And SO much more!
It’s a technical process that takes time and understanding to perfect, which is why presets are such an incredible & valuable asset to have at your disposal.

5 Reasons you need Presets:
#1 Achieve consistency in your photographs & social media pages
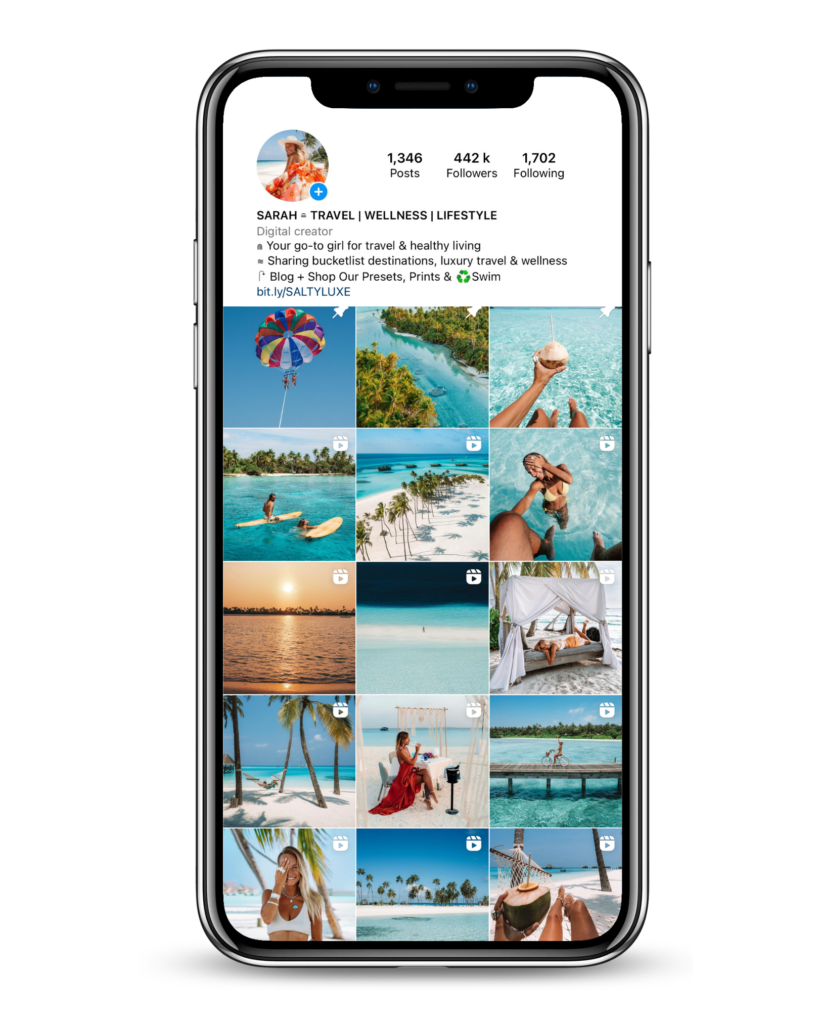
Consistency is very important for brands and creators. By using the same Preset (or collection of Presets) you will have a consistent look and feel (style) to all of your images that not only looks professional but also very aesthetic. Take a look at our Instagram feed and you can see that there is consistency in the editing style that makes the overall feed look polished.
#2 Enhance your image.
If you’ve ever taken a photo & thought ‘this photo doesn’t do it justice’, you’re not alone. Often what we see & what the camera sees are totally different – this is where presets come in! I like to think of presets as a way to make your photos more reflective of what you actually saw, brining the vibrant colours back into the image & making it POP!
#2 Make your photos look professional.
Any photo you’ve seen online or on socials that makes you stop and take it the image almost certainly has been edited with a Preset.
#3 Create a unique style.
Because there’s endless settings that you can adjust within an image, you can create your own style that can also be very unique. Maybe your style is retro or film, or your images are always bright and warm, whatever your style you can make it exactly as you like and your own.
#5 Save time.
Mastering photo editing is not easy (trust me) and if you find Presets that someone has already created that you love then you can purchase their Presets and save a lot of time and effort. Take our Presets for example. Our latest collection of Presets has been perfected over a two year period of editing thousands of different images on an almost daily basis. With this much time spent tweaking the finest of settings and also moving with trends and changing styles, you don’t need to start from scratch.
How do you use Presets?
Presets are applied to your image via a program called Adobe Lightroom. You can use the FREE Adobe Lightroom app on your mobile or via your desktop (as subscription software) and with just a few clicks you can apply Presets to transform your raw images.
The basic process is below:
- Download and save the Presets (Digital files) to your mobile or desktop
- Open Lightroom, then import & save your Presets
- Select and import the photos you wish to edit into Lightroom
- Click and apply your chosen Preset to any image. You can stroll through the Presets available to find an edit that you like for your image.
- Make any minor adjustments to the settings. Pro Tip – adjust exposure, temperature and tint to your liking to see huge results!
- You are done!
To support the install process, we provide in depth guides with all our preset purchases. So don’t worthy, it’s easy!
What is Adobe Lightroom?
Lightroom is an Adobe program that’s used to edit digital images. It’s also one of the only programs I use every single day as a creator!
Presets take all the technical work out of editing, so with just a few minor adjustments you can edit like a pro & have stunning, instagram-worthy images within minutes.
Overall, Lightroom in my opinion is the best & only way to edit high quality & incredible imagery – this is the only program we use to edit.
Is Lightroom hard to use?
With the use of Presets, editing via Lightroom is easy. If you have good Presets, you only have to make minor tweaks to exposure, temperature &/ or contrast to create beautiful images of your own. It might look a little scary, but trust me, once you have a play around you’ll get the hang of it!
Can I use jpeg images, or is RAW better?
RAW images are definitely better for editing & I highly encourage you to shoot in this way, if you don’t already. It’s a simple change to your camera settings that make a huge difference in post processing. You can still shoot & use presets in JPEG, but RAW images capture much more detail. This means that RAW images are larger files and there’s more information stored within the file to adjust with the power of Presets.
Why don’t my photos look like yours?
Every photo situation is unique (e.g. lighting, colour tones, camera setttings) and so although good Presets are made to work for most situations, images will ALWAYS need slight adjustment to settings like exposure, temperature and tint to achieve your desired look for your exact photo condition. There’s also a beauty to doing this – you can put your own special twist on your image!
Best Presets to recommend?
We are very proud of our Salty Luxe Presets for our versatile & high quality they are!
However many creators sell presets. I recommend investing in presets from a creator whose style you love. That way you have a great framework to create your own unique touch.
We have a number of packs to select from and we cater for all levels of photography and experience. You’ll receive all the instructions you need to transform your images and we are on hand to help with any troubleshooting.
Happy editing Salty Fam!! We can’t wait to see your edits!
Shop our new Presets on our Salty Luxe Store here. Don’t forget to tag @saltyluxe on Instagram so we can share your work! And we would LOVE to hear your thoughts on our presets in our review section here. Thanks so much and enjoy the creative process 😊✨
A gift for you ♡
Get one of our BEST SELLING Presets for FREE below.
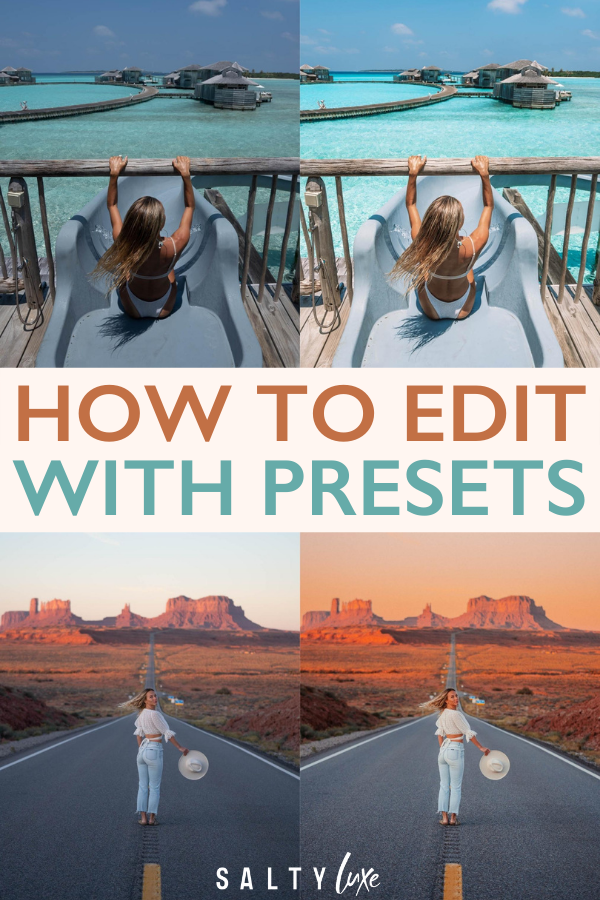
LIKE THIS POST? PIN IT FOR LATER AND SHARE IT WITH OTHERS!

The comments +